
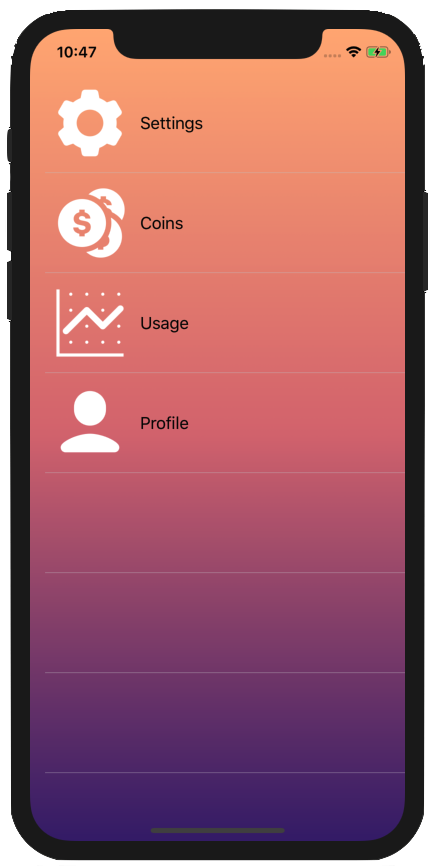
Table Views are a big part of the iOS, and being able to create a fully customized table view is awesome. By the end of this tutorial, you will have a table view that looks like this.
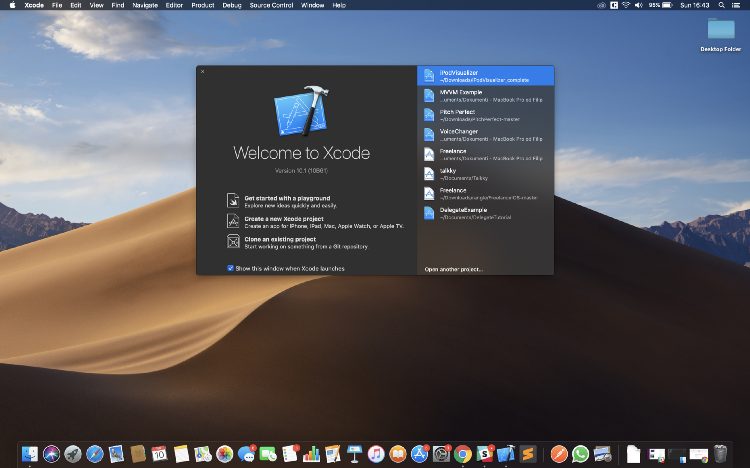
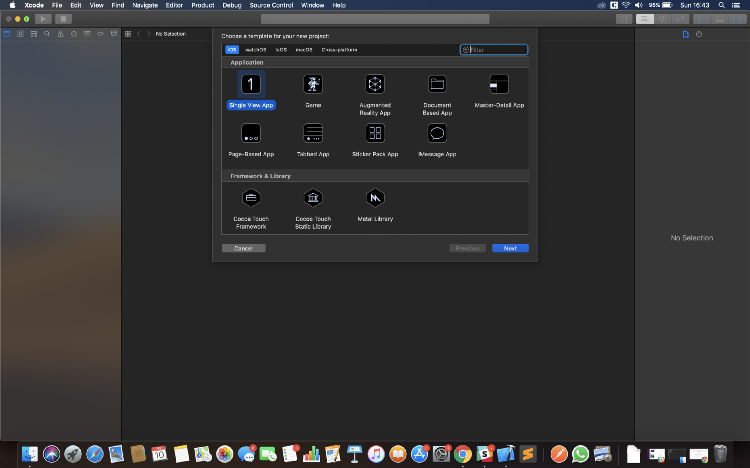
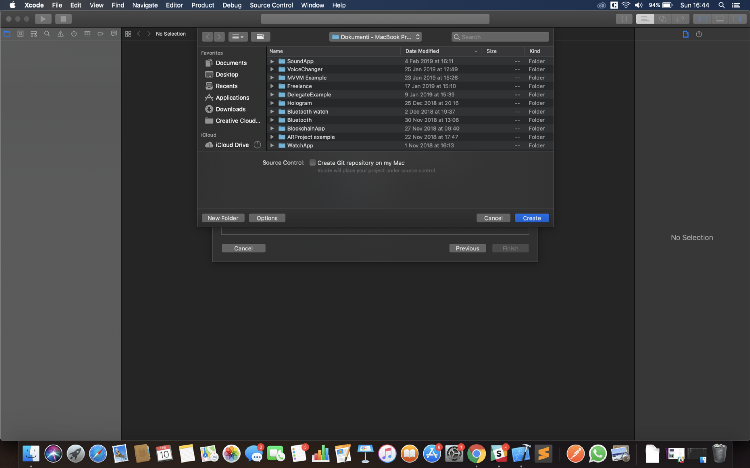
To begin, open Xcode, click “Create a new project” -> “Single view app”, name it “CustomTableViewExample” click “Next”, “Create”.

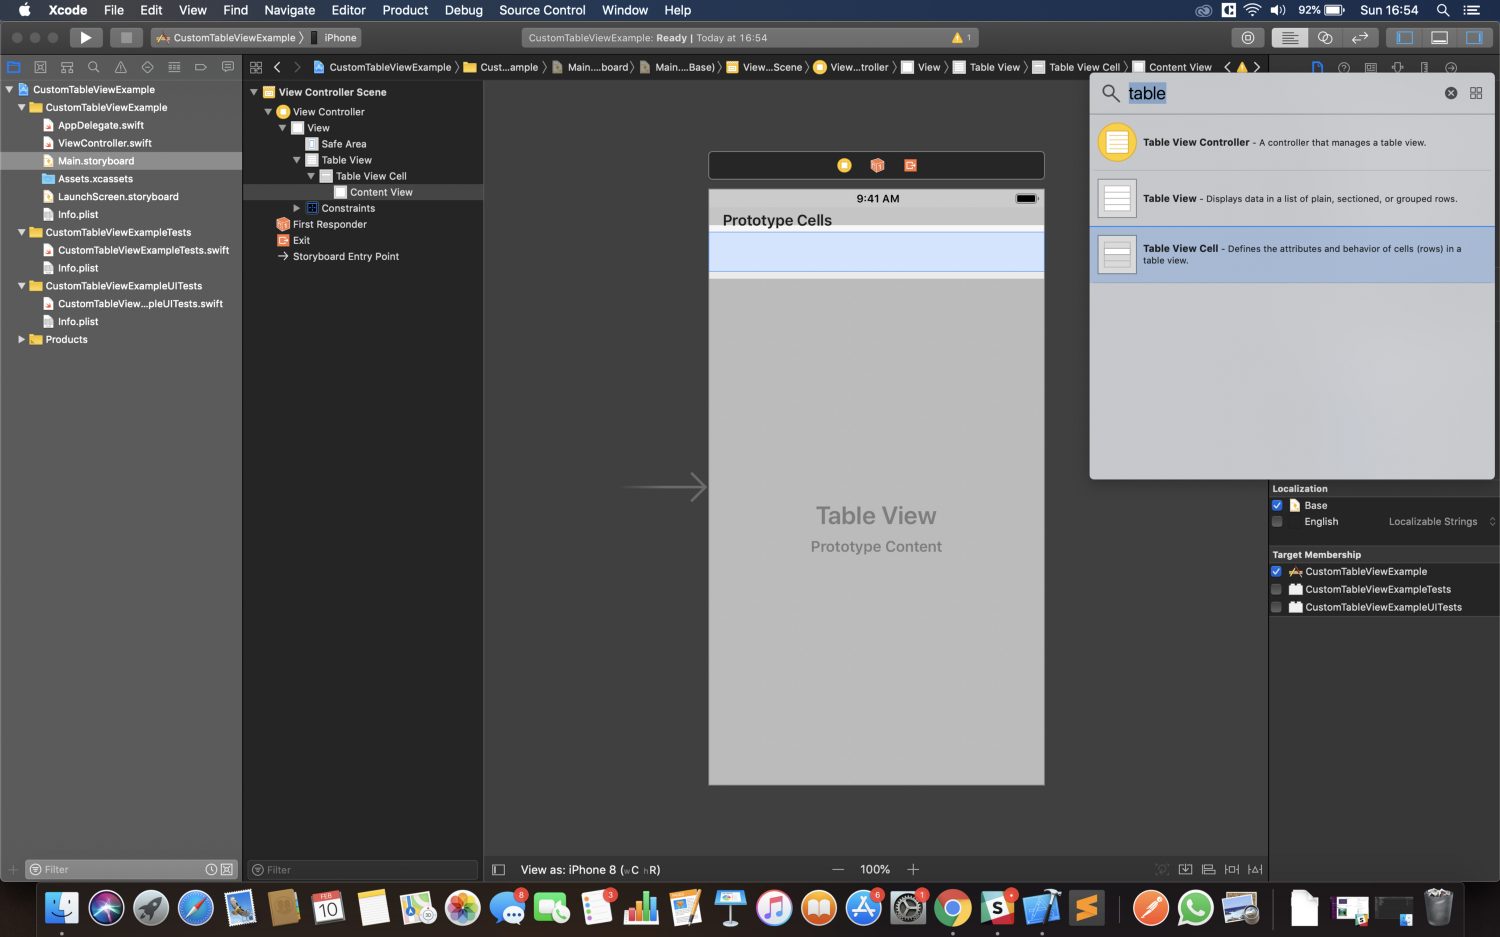
Now go to the Main.storyboard, click on the “Library” on the top right corner, select a table view, and drag and drop the table view on the view controller.

Add the constraints to the table view, and add one cell to the table view. To do so, click on the “Library” again, select table view cell, and drag and drop it on the table view you just added.
Now we can go to our ViewController.swift and write some code. Our code looks something like this.
import UIKitclass ViewController: UIViewController { override func viewDidLoad() { super.viewDidLoad() // Do any additional setup after loading the view, typically from a nib. } }What we need to do is add an outlet for our table view and comfort some protocols. To add the outlet add this part of the code to your ViewController class.
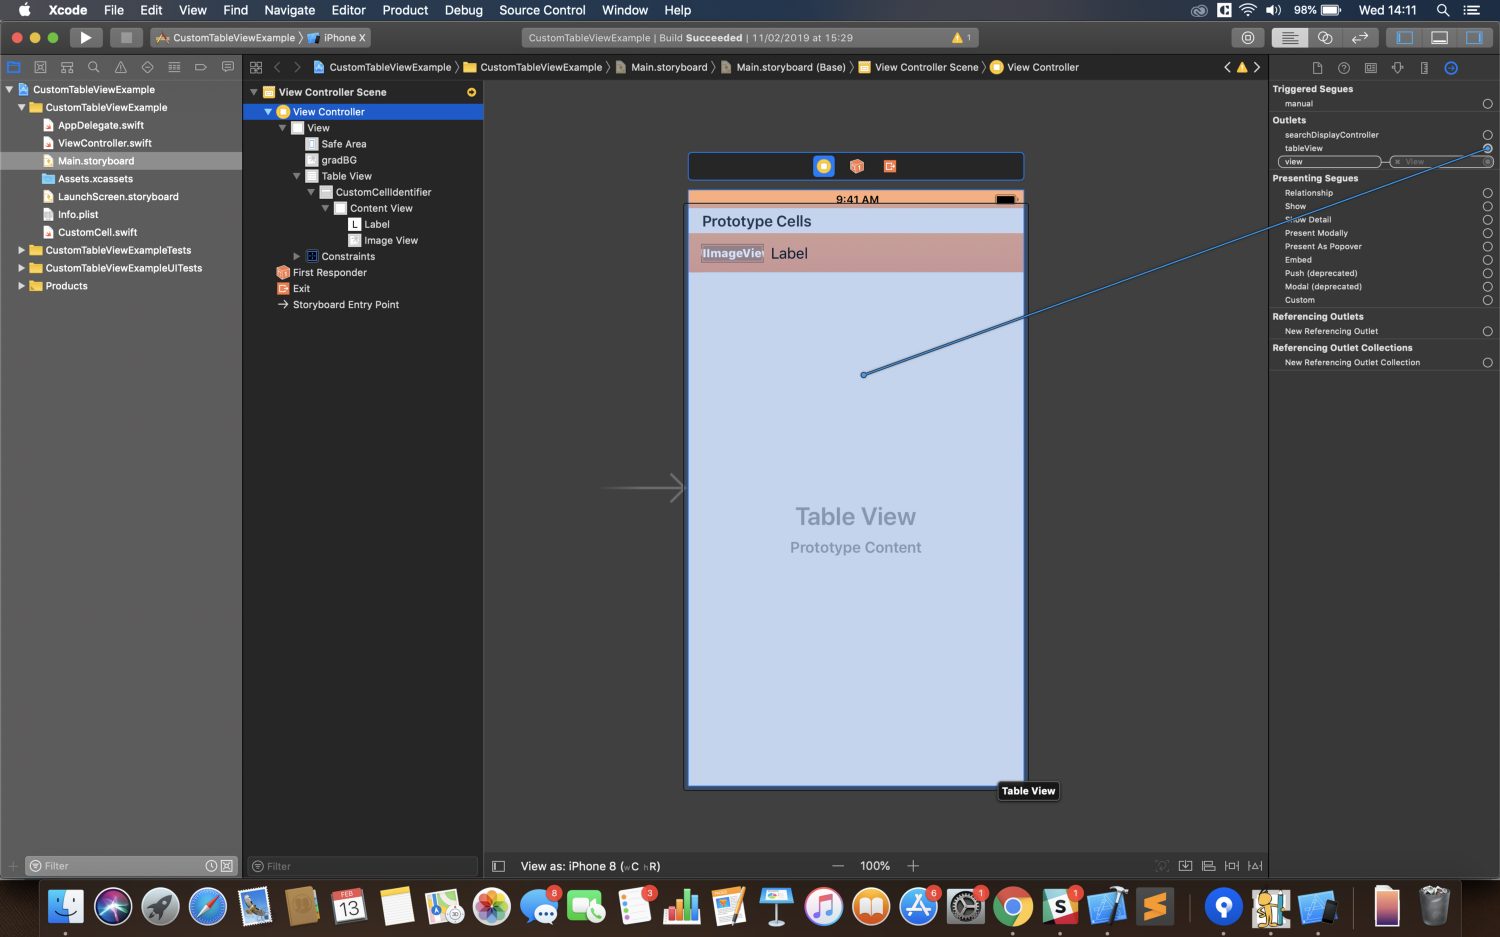
@IBOutlet weak var tableView:UITableView!You have to connect the outlet in your Main.storyboard. To do so, open Main.storyboard, on the left side click on the View Controller, then click on “The Inspectors” on the right side of the window, select “Connections Inspector” and find tableView. Click and drag and drop the circle on the tableView in the ViewController.
Now we can comfort the protocols for our table view, and to do so, add this part below the ViewController class.
extension ViewController: UITableViewDataSource, UITableViewDelegate { func tableView(_ tableView: UITableView, numberOfRowsInSection section: Int) -> Int { } func tableView(_ tableView: UITableView, cellForRowAt indexPath: IndexPath) -> UITableViewCell { } }There are two errors in the functions because there is no return value, but don’t worry about that for now. The first function “numberOfRowsInSection” describes how many cells are there in each section. For our table view, there will be just one section, so there is no need to override the “numberOfSections” function, because the default value is one section. The “cellForRowAt” function describes the type of cell and you can configure parts of the cell in this function.
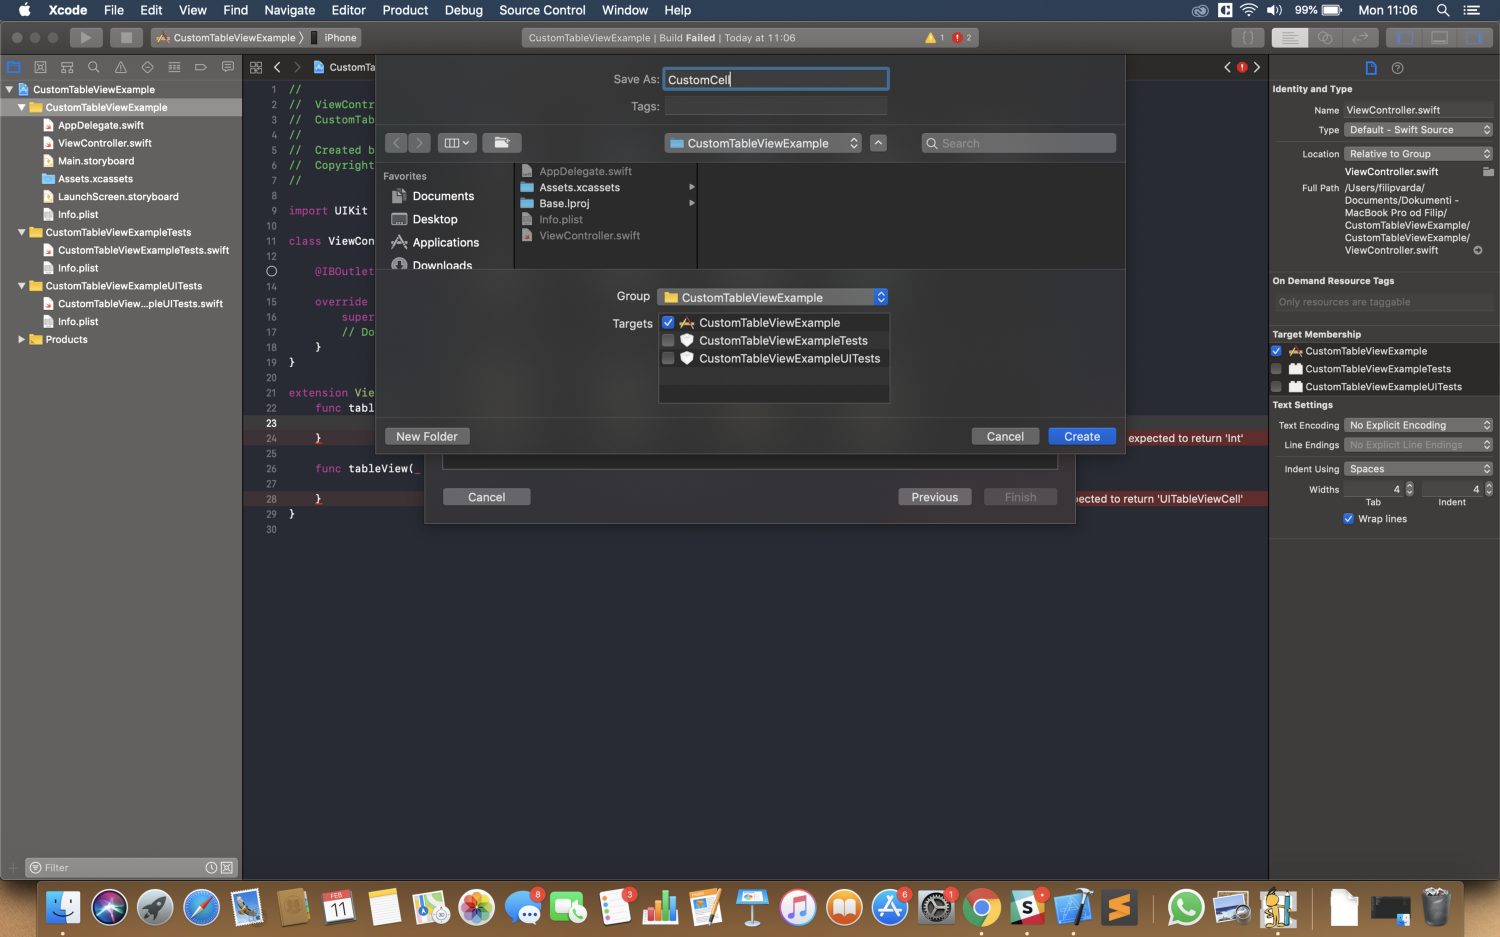
That being said, we can create a custom cell for our tableView. To do so right-click the “CustomTableViewExample” folder in the project tree on the left side and add a new Swift file. Name the file “CustomCell” and click “Create”.
Your new file will be almost empty, containing just one line of code saying:
import FoundationTo create a custom UITableViewCell, import a module named UIKit, and create a new class named CustomCell that inherits from UITableViewCell. Your code should look like this:
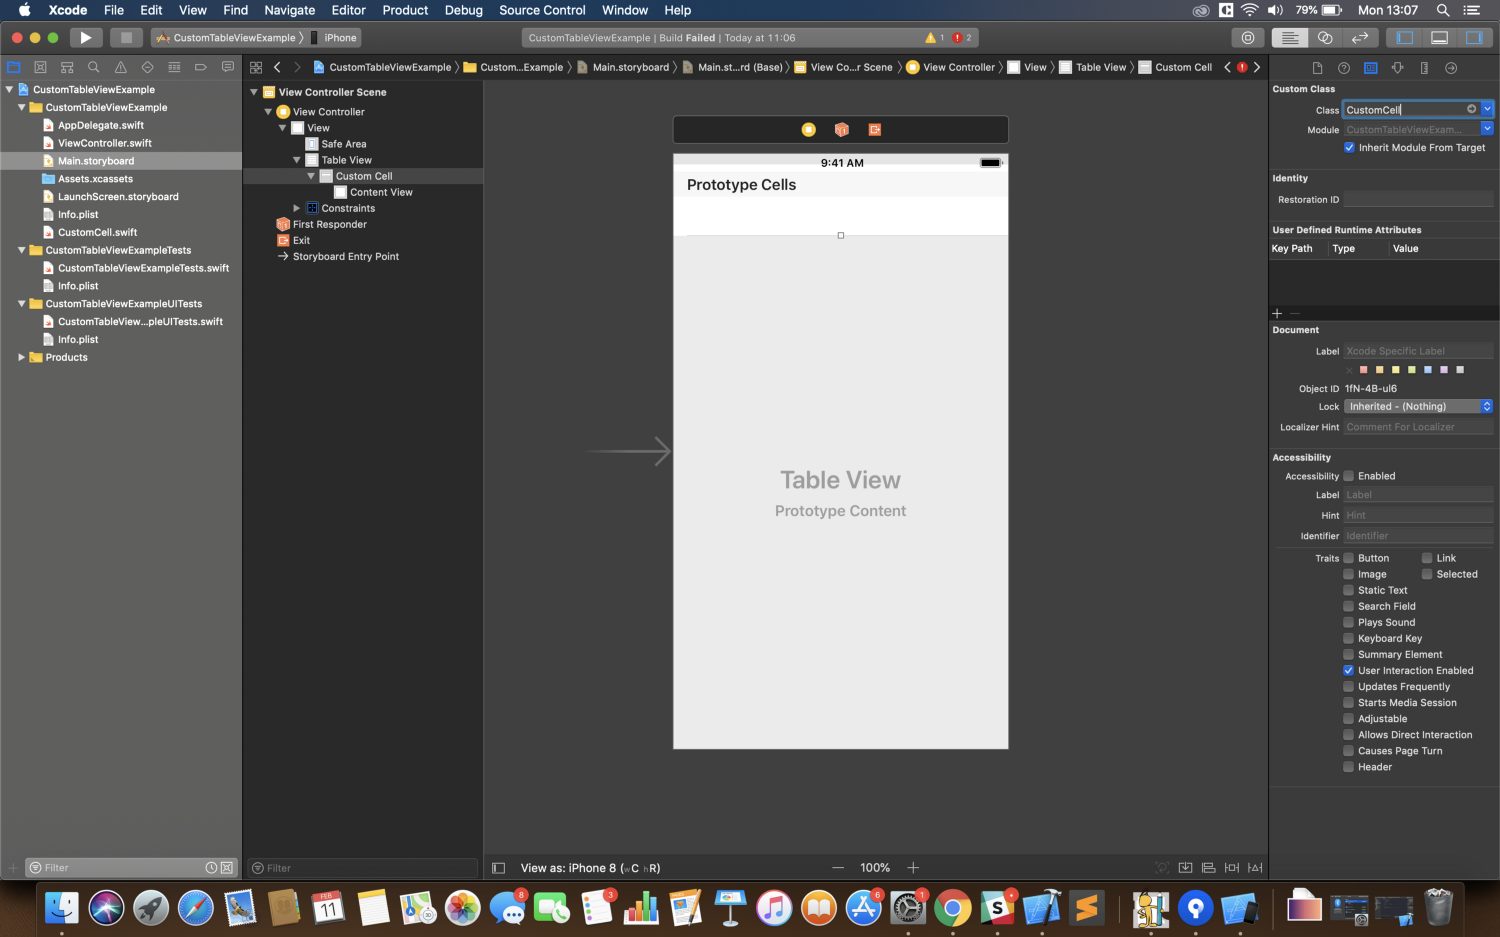
import Foundation import UIKitclass CustomCell: UITableViewCell { }With this done, you have successfully created a new custom cell class. Now we need to add the cell in our table view and customize our cell. To do so, go back to your Main.storyboard, go to the right side of the window, in “The Inspectors” click “Identity Inspector” and in the “Class” filed start typing CustomCell and press enter. You will see that the checkbox “Inherit Module From Target” is now checked. By checking the “Inherit Module From Target” option the module gets compiled in for the targets we use it in and everything should work.
Now let’s make this table view look awesome. First, let’s add the background image(gradient) and make the table view transparent. We are adding the gradient first, just so you can see what is happening. To do so, add an Image View and place it behind the table view. So again, “Library” -> “Image View” and drag and drop, but this time drag and drop it on the left side in the “Document Outline” above the Table View.

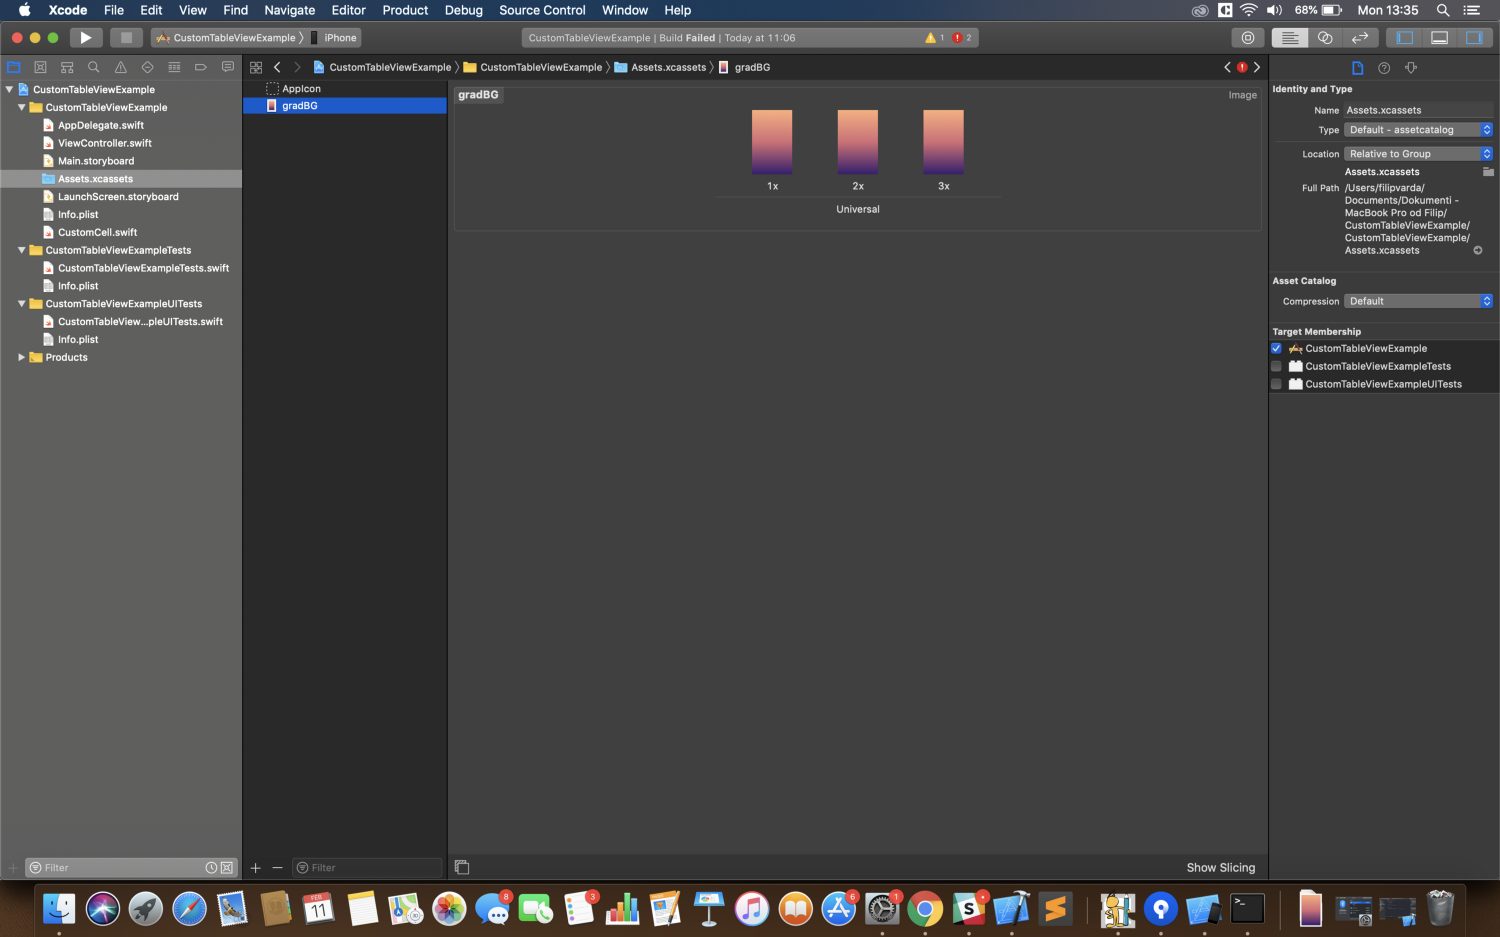
Add the constraints to make it “fullscreen”. Go to the project tree and find “Assets.xcassets”, add the background gradient image and name it “gradBG”. The image I used in this tutorial can be found here.
Now, go back to the Main.storyboard, click on the image view we just added, go to “The Inspectors”, click “Attributes Inspector”, find the “Image” field, start typing “gradBG” and press enter. With this done, our gradient is set up but we cannot see it yet because our table view is not transparent. Let’s fix that. Select the table view and in “The Inspectors” select “Attributes Inspector”, go down to the “View” section, find “Background” and make it “Clear Color”. After that select the custom cell and do the same thing again. You will notice that a part of the gradient is now visible, which is good.

Now back to the code. In the ViewController.swift we have two errors that need to be fixed. First, we need some data to present it. So let’s make some data. Then, we will need to create an object. To do so go to the project tree and add a new swift file and name it Item. Like this:
In the Item.swift add this part of the code:
import Foundation import UIKitstruct Item { let image:UIImage = UIImage() let text:String = "" }This is just a simple structure for our Item object that has two variables; image and text. We will use this to create the data. With this done we can make another class that will act like an API Client. So add another file and name it APIClient.
In the APIClient.swift add this part of the code:
import Foundation import UIKitclass APIClient { func getData() ->[Item] { var array: [Item] = [Item]() let item1 = Item(image:UIImage.init(named: "settings"), text:"Settings") let item2 = Item(image:UIImage.init(named: "coin"), text:"Coins") let item3 = Item(image:UIImage.init(named: "graph"), text:"Usage") let item4 = Item(image:UIImage.init(named: "user"), text:"Profile") array.append(item1) array.append(item2) array.append(item3) array.append(item4) return array } }Let me explain what have we done here. We made a class that acts like APIClient. In the function getData() we are creating an empty array and four dierent items. When the items are created we are populating the array with those items and returning the value of the array. Not very complicated right?
Now we can go back to our ViewController.swift and get the data we just created. To do so, create an empty array of items right below the tableView outlet like this:
class ViewController: UIViewController { @IBOutlet weak var tableView:UITableView! var arrayOfItems:[Item] = [Item]() . . .Now in the “viewDidLoad” function add this code:
override func viewDidLoad() { super.viewDidLoad() arrayOfItems = APIClient().getData() tableView.reloadData() }With this, we are populating the arrayOfItems with the data we created earlier and reloading the tableView so that we can populate the cells with this array.
Now in the extension of the ViewController add this part of the code.
extension ViewController: UITableViewDataSource, UITableViewDelegate { func tableView(_ tableView: UITableView, numberOfRowsInSection section: Int) -> Int { return arrayOfItems.count } func tableView(_ tableView: UITableView, cellForRowAt indexPath: IndexPath) -> UITableViewCell { if let cell = tableView.dequeueReusableCell(withIdentifier: "CustomCellIdentifier") as? CustomCell { return cell } return UITableViewCell() } }Okay, let me explain this part.
In the first function “numberOfRowsInSection” we are returning the count of the objects in the arrayOfItems which is four. The number of sections is by default one, as I said earlier. This part is pretty self-explanatory.
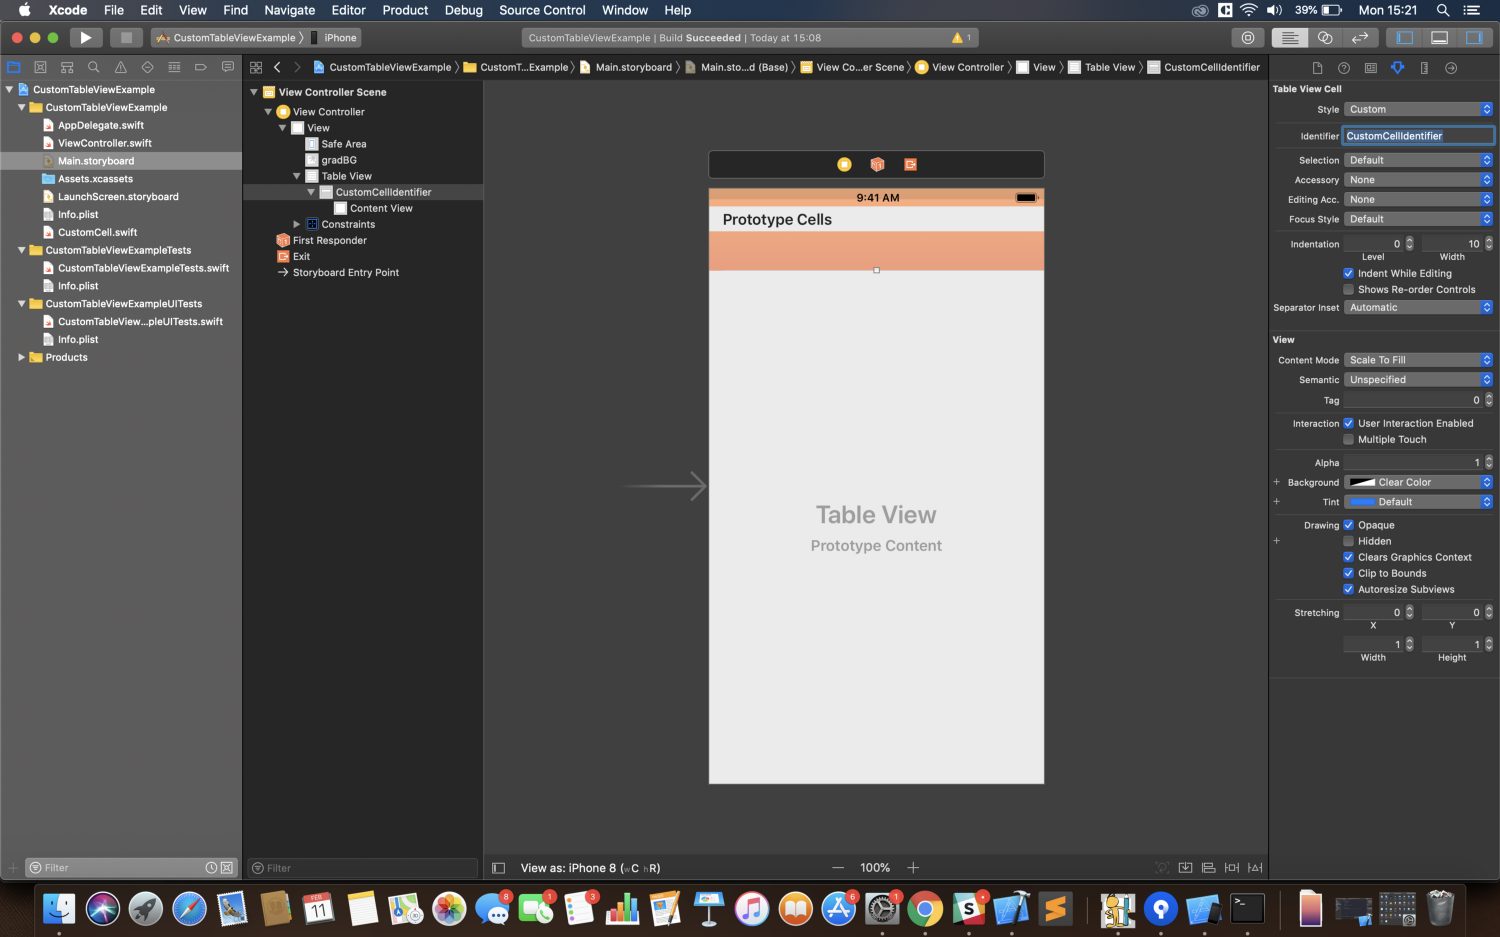
The second function “cellForRowAt” is a bit more tricky. Here we are using our custom cell as the type of cell we want to present. As you can see there is a part of the code that is using the “Identifier”. The “Identifier” is associated with a UITableViewCell object that the table view’s delegate creates with the intent to reuse it as the basis (simplified: performance). We did not set the Identifier to our cell yet, so let’s do that now. Open your Main.storyboard and click on the Custom Cell, open “The Inspectors”, click “Attributes Inspector” and find the “Identifier” field. Type in “CustomCellIdentifier”. The best way to do so is to copy-paste the “Identifier” just to make sure you don’t make a typo.
The second thing happening in the“cellForRowAt” is unwrapping the CustomCell object using the just added “Identifier”. This is not mandatory, but I prefer doing it like this just because the app will not crash if there is an error while dequeuing the cell. It will simply return the default UITableViewCell. That is why there is
return UITableViewCell()at the end of the function.
You can build and run the app and you should see the gradient and our transparent table view. Just to clarify, the table view is not empty, it has three cells in it, but the cells are empty and that is why it seems like there is nothing. Let’s add some content to our cells.
Go to the CustomCell.swift and create an image view outlet and label outlet. Your code should look like this:
import Foundation import UIKitclass CustomCell:UITableViewCell { @IBOutlet weak var cellLabel:UILabel! @IBOutlet weak var cellImage:UIImageView! }Now in your Main.storyboard, add the label and image view to your Custom Cell. Connect the outlets the same way you connected the tableView outlet earlier.
Cool, that’s our Custom cell with all the outlets. Now we can configure the cell. so let’s start with resizing the cell. To do so go to the ViewController.swift and in the extension add this part of the code:
func tableView(_ tableView: UITableView, heightForRowAt indexPath: IndexPath) -> CGFloat { return 100 }This will set our cell height to 100, but we still have to add some constraints. This is what I added:
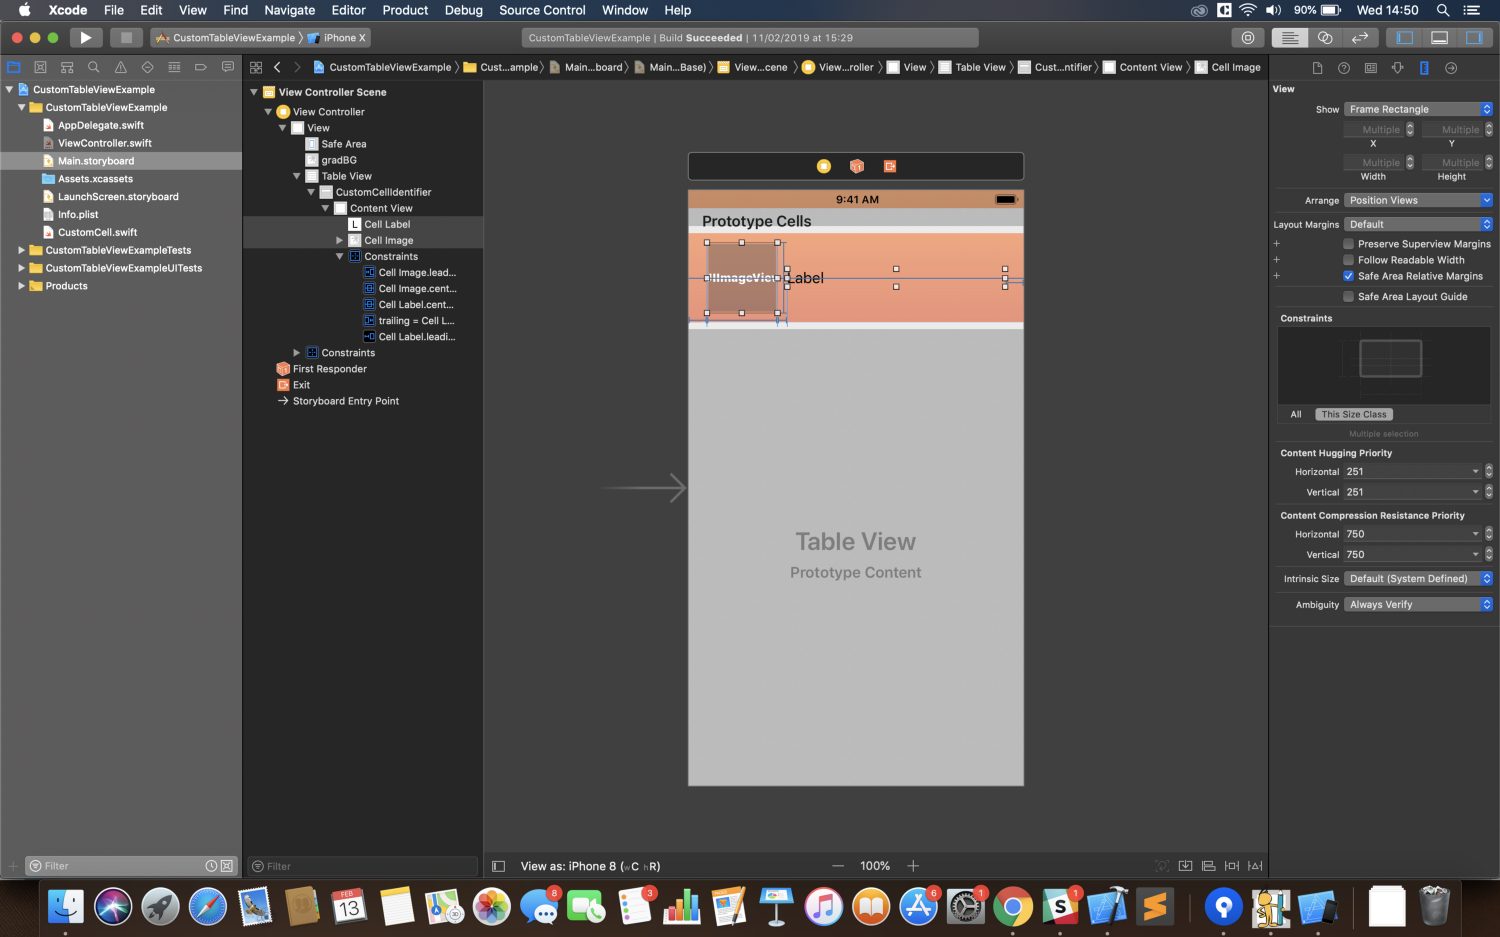
Both the image view and the label are vertically in the container view of the cell, and the important part is that the image has a width and height of 80.
Now, let’s add some icons to the project. You can download the images I used here.
Go to the Assets.xcassets and add the images there the same way you added the gradient background image. Whit this done we can configure our cells but we need to create a function for that.
Let’s navigate to our CustomCell.swift and add some code to the CustomCell class.
func configureCell(item:Item) { cellLabel.text = item.text cellImage.image = item.image }This is where the magic will happen; we will pass the item from the arrayOfItems into the configureCell function and set the label text value and imageView value to the value of the item we passed.
Now we need to call the function on the cell object to configure it. To do that go back to your ViewController and into the “cellForRowAt” function in the ViewController extension and add this part of the code:
func tableView(_ tableView: UITableView, cellForRowAt indexPath: IndexPath) -> UITableViewCell { if let cell = tableView.dequeueReusableCell(withIdentifier: "CustomCellIdentifier") as? CustomCell { cell.configureCell(item: arrayOfItems[indexPath.row]) return cell } return UITableViewCell() }“cellForRowAt” works like a for loop, the number of iterations is the same as the return value of the “numberOfRowsInSection” function. Simply it’s one iteration, one cell. The “numberOfRowsInSection” most often has a return value of an “array.count”, you get the data via an API call, but in this tutorial we have faked the data in the APIClient. As you can see the arrayOfItems is passing just one Item into the “configureCell” function. That is why there is arrayOfItems[indexPath.row]. The [indexPath.row] is the number of the row that is currently in use in the “cellForRowAt” function, which means that the first time “cellForRowAt” is called the indexPath.row will be 0, the second time it will be 1, the third time it will be 2, etc. This means that “cellForRowAt” is passing the object on the correct index inside of the arrayOfItems.
If you build and run the app, the tableView will still be empty, because we did not set the tableViews delegate and data source. There are two ways to do that. I will show you both ways and you decide which one works for you.
So, the first way is in-code. Open ViewController.swift and in the “viewDidLoad” function add this:
override func viewDidLoad() { super.viewDidLoad() tableView.delegate = self tableView.dataSource = self }This is pretty much self-explanatory, so I won’t go into the details.
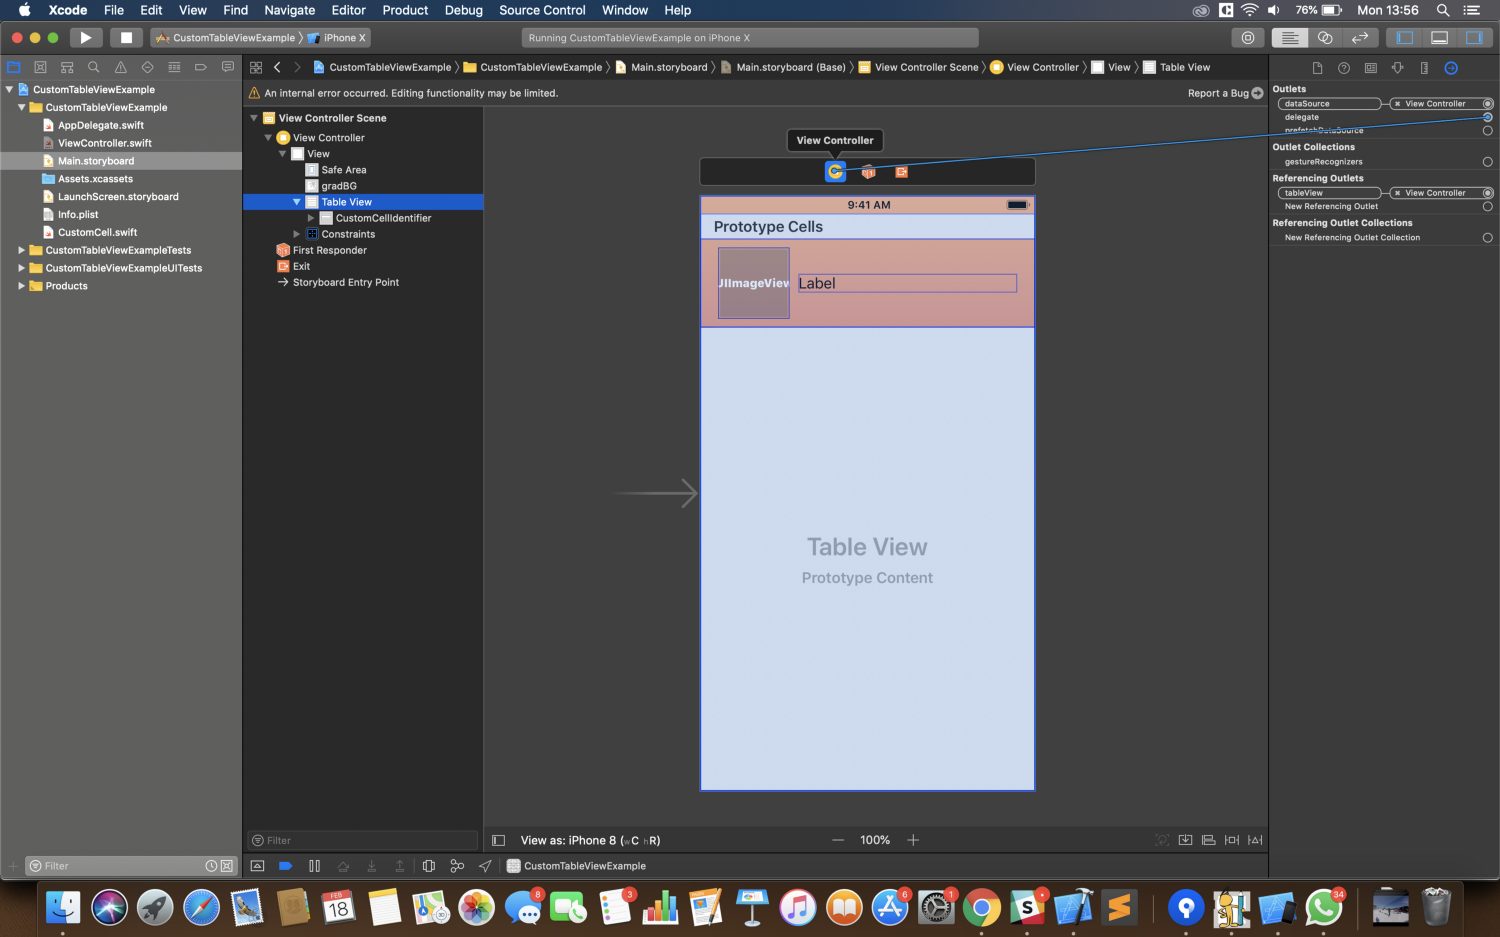
The second way is using the Main.storyboard. So open the file and click on the tableView. In “The Inspectors” click on the “Connections Inspector” and you will see “dataSource” and “delegate” in the “Outlets” section. Drag and drop the circle into the yellow circle of the ViewController and that will do the job.
Try to build and run the app.
As you can see our tableView is populated with four custom made cells and everything works just fine, but if you select a row nothing happens and the row will remain selected.
So, what we need to do is make something happen when the cell is tapped and deselect the row. First, we will deselect the row. To do that we will override a function named “didSelectRowAt” in the ViewController extension and add some code to it.
func tableView(_ tableView: UITableView, didSelectRowAt indexPath: IndexPath) { tableView.deselectRow(at: indexPath, animated: true) }Here we are deselecting a row at the indexPath we tapped by calling the tableViews. That’s basically it.
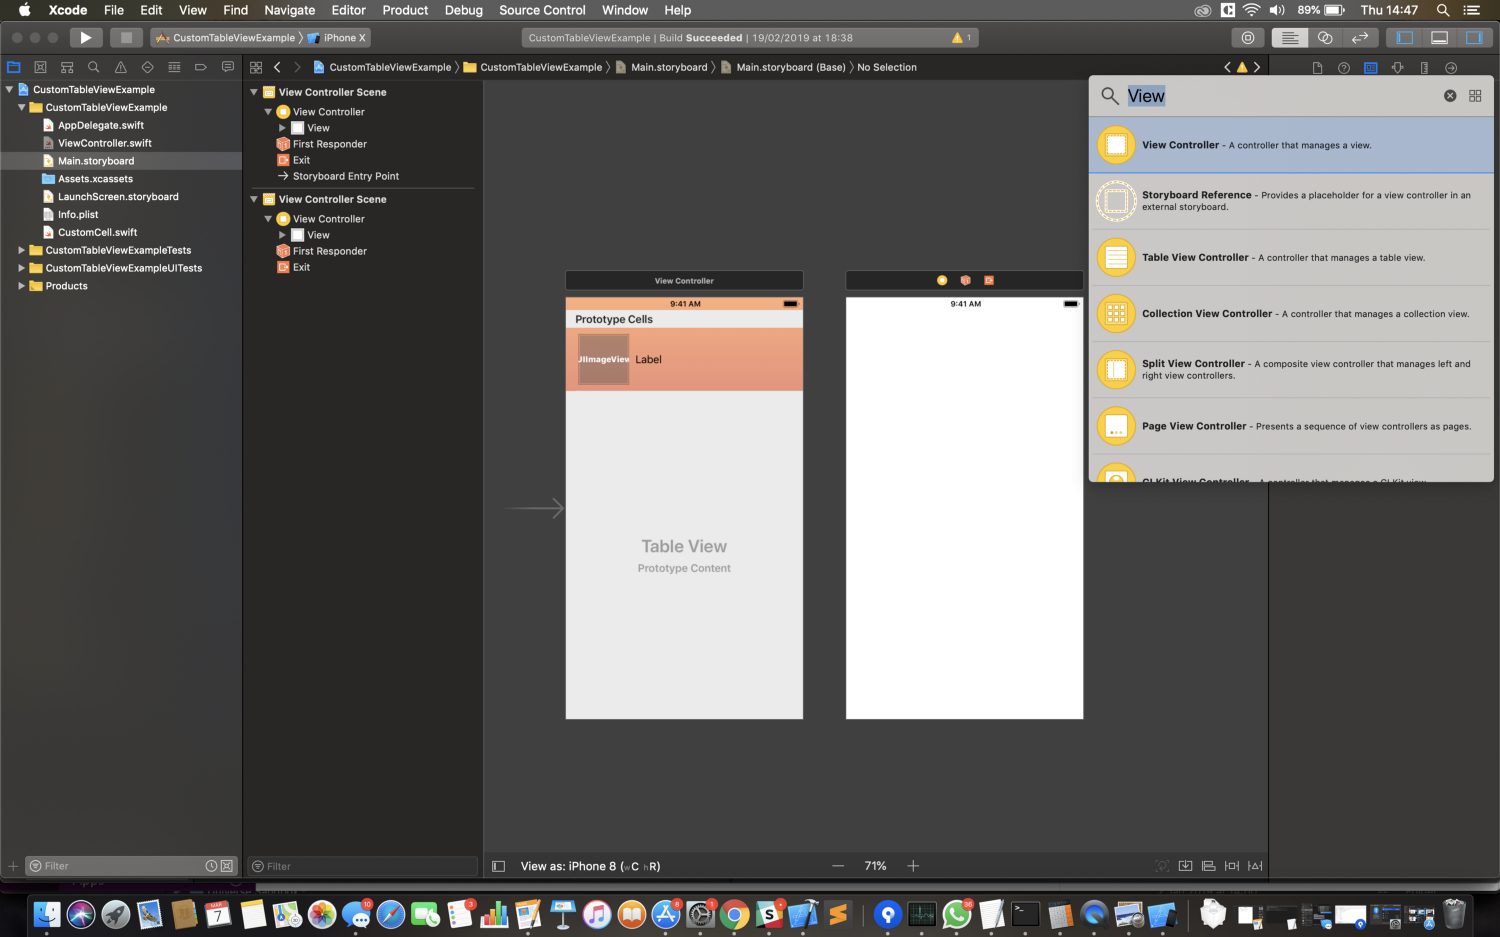
Back to the storyboard. We need to create a View Controller that will open and present data as we tap the cell. To do that open Main.storyboard and in the top right corner click on the “Library” and find View Controller, drag-and-drop it next to the existing ViewController.
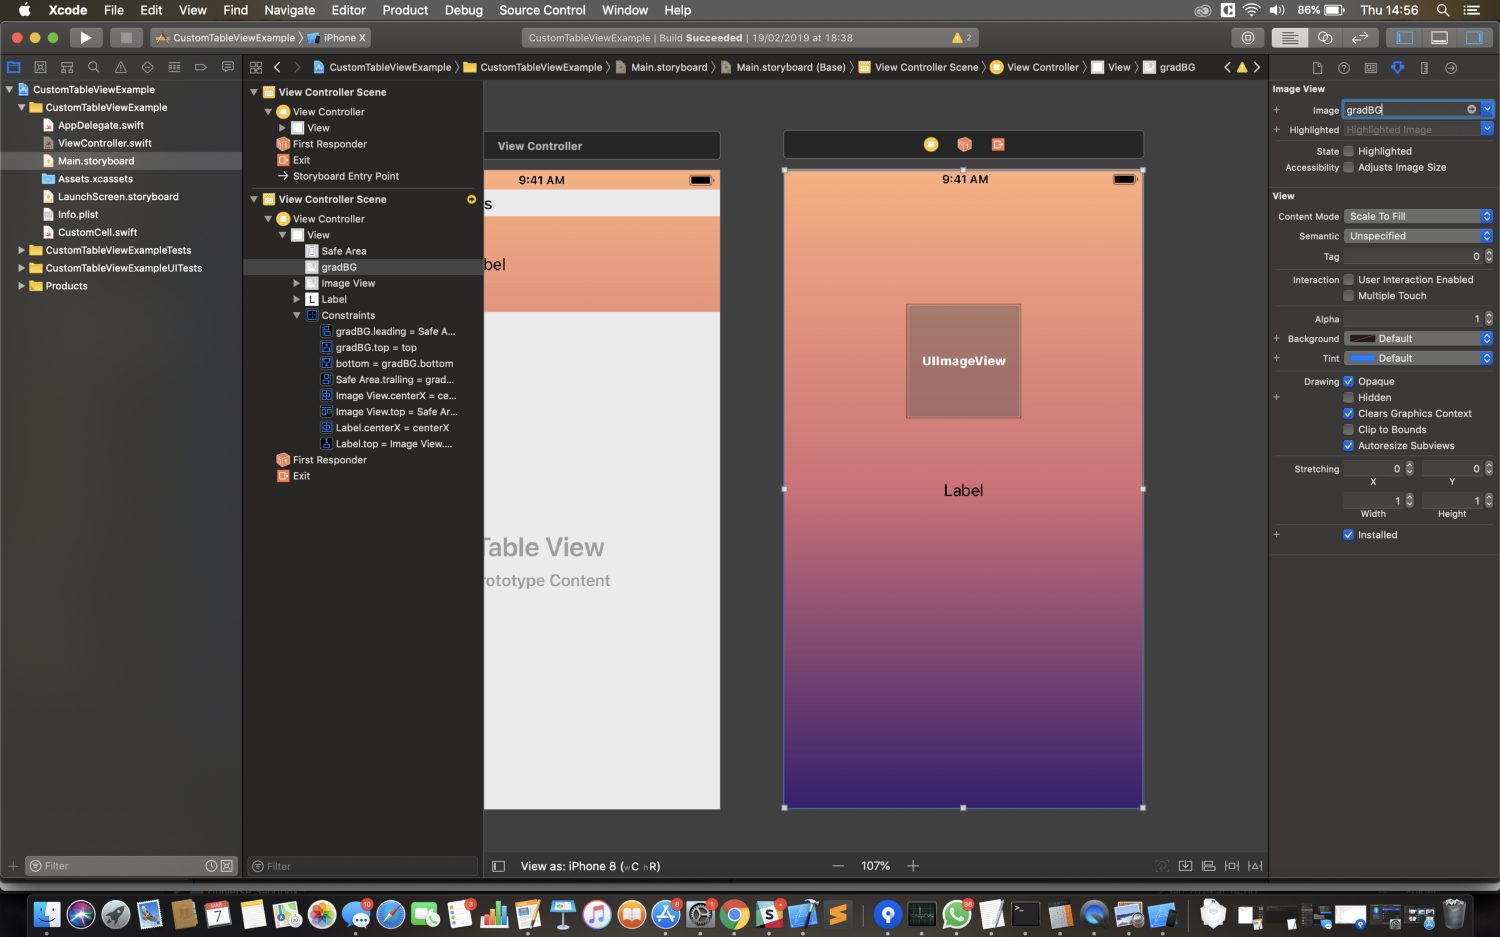
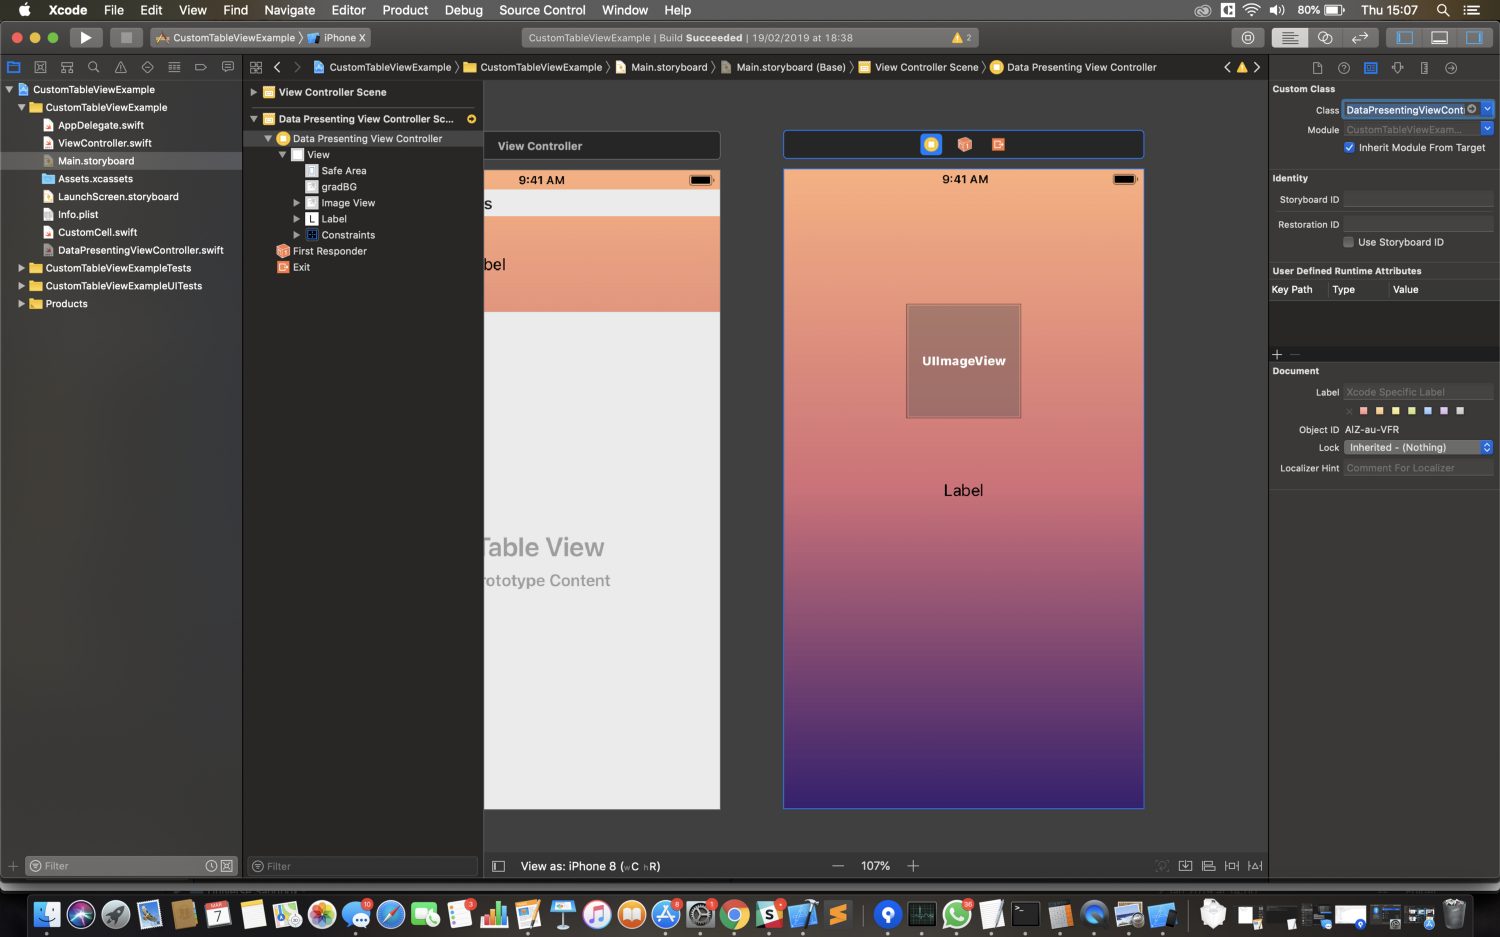
Add two image views (one for the background gradient and another for the icon) and a label to the new View Controller, the same way you added the View Controller itself, also add some constraints. You can create a layout as you wish, this is the layout I made:

Now set the gradient as the background image like this, we already did this on the ViewController with the table view.
Now we can create a .swift file for the new view controller. Go to the project tree on the left side and add a new file and name it DataPresentingViewController. Now we need to create the class and make some outlets for the image view and label. To do so add the following code in the DataPresentingViewController.swift file.
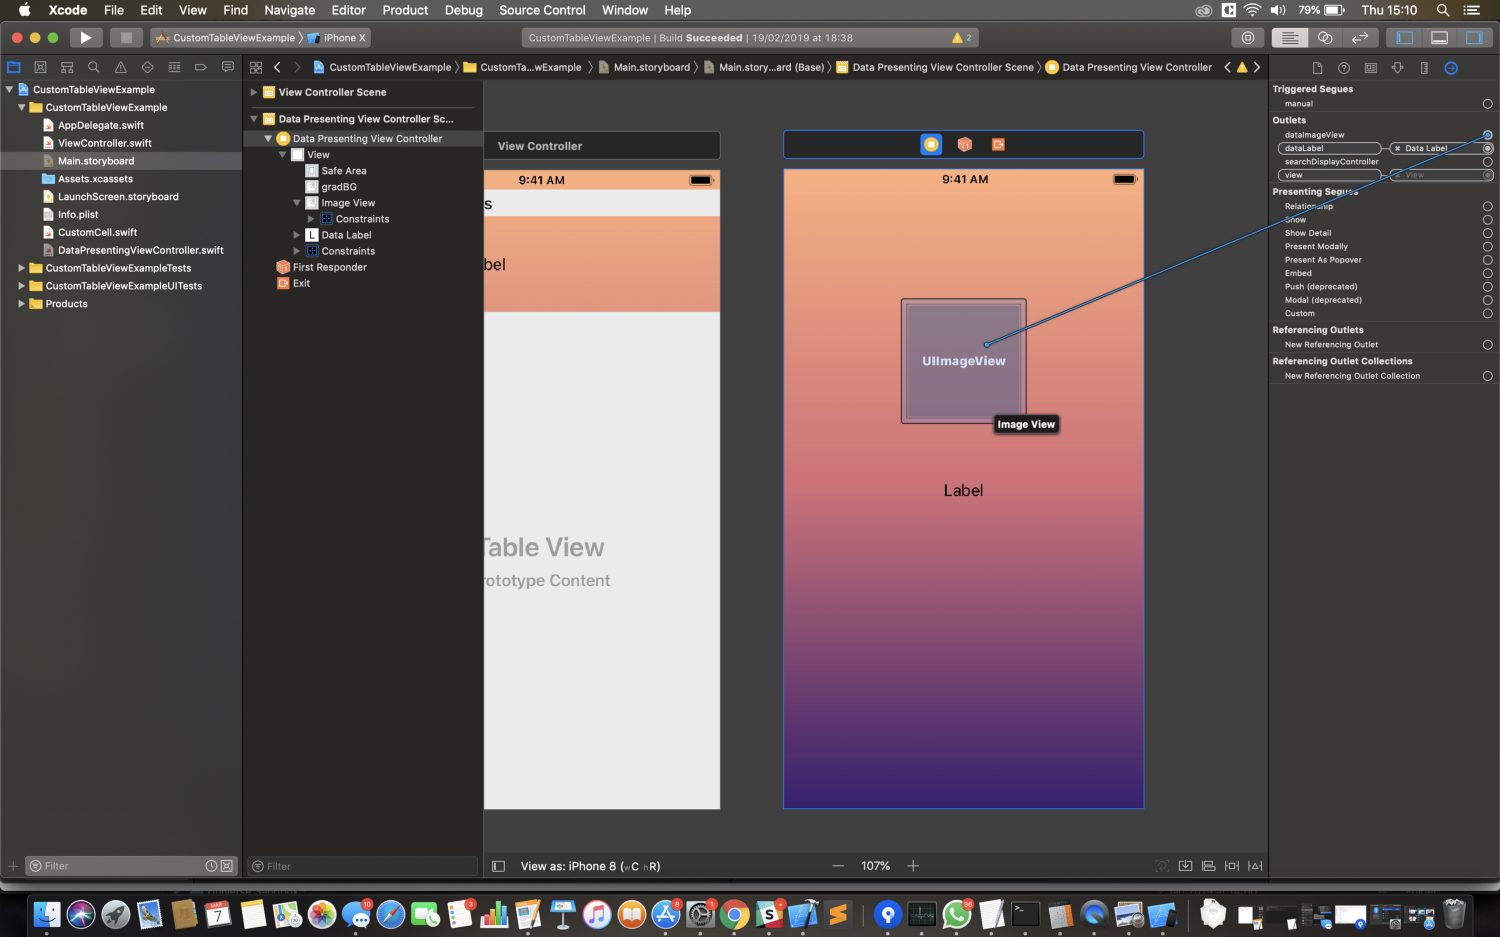
import Foundation import UIKitclass DataPresentingViewController: UIViewController { @IBOutlet weak var dataLabel:UILabel! @IBOutlet weak var dataImageView:UIImageView!}Now we need to set the new view controllers class as the DataPresentingViewController and connect the outlets. To do so open Main.storyboard and in “The Inspectors” open the “Identity inspector”, click on the “Class” in the “Custom Class” section, start typing DataPresentingViewController, and press Enter.
Now you can open the “Connections inspector” and you will see two outlets we just added. Connect them to the label and image view on the DataPresentingViewController.
Now we have everything set up for our action. Go back to the ViewController.swift into the “didSelectRowAt” function. We need to open our new DataPresentingViewController and populate the label and the image view with selected data. To do so add the following code to the function.
func tableView(_ tableView: UITableView, didSelectRowAt indexPath: IndexPath) { tableView.deselectRow(at: indexPath, animated: true) let storyBoard: UIStoryboard = UIStoryboard(name: "Main", bundle: nil) if let dataPresentingViewController = storyBoard.instantiateViewController(withIdentifier: "DataPresentingViewControllerIdentifier") as? DataPresentingViewController { self.present(dataPresentingViewController, animated: true, completion: nil) dataPresentingViewController.dataLabel.text = arrayOfItems[indexPath.row].text dataPresentingViewController.dataImageView.image = arrayOfItems[indexPath.row].image } }Before I explain what is happening here, there is an identifier that probably caught your eye. That is the view controller’s identifier. Let’s add that first so we don’t forget about that. Go to Main.storyboard, and click on the DataPresentingViewController, go to “The Inspectors”, “Identity inspector” and find the Identity section. Set the “Storyboard ID” as DataPresentingViewControllerIdentifier.
Now let me explain what is happening here. When we select the row, we are first deselecting it and then we are initiating a new screen (DataPresentingViewController) in the Main.storyboard and we are unwrapping it. Again this is not mandatory, but just in case. After that, we are setting the value of the label and image view to the value of the specific item in the arrayOfItems. Again we are letting the “didSelectRowAt” function to select the item we need form the arrayOfItems with the indexPath.row the same way the “cellForRow” is doing that.
You can try to build and run the app and tap on the cell. Our new screen should appear with the data you selected. But there is one more thing we have to do; dismiss the new screen. To do that open the DataPresentingViewController.swift file and add this part of the code below the outlets:
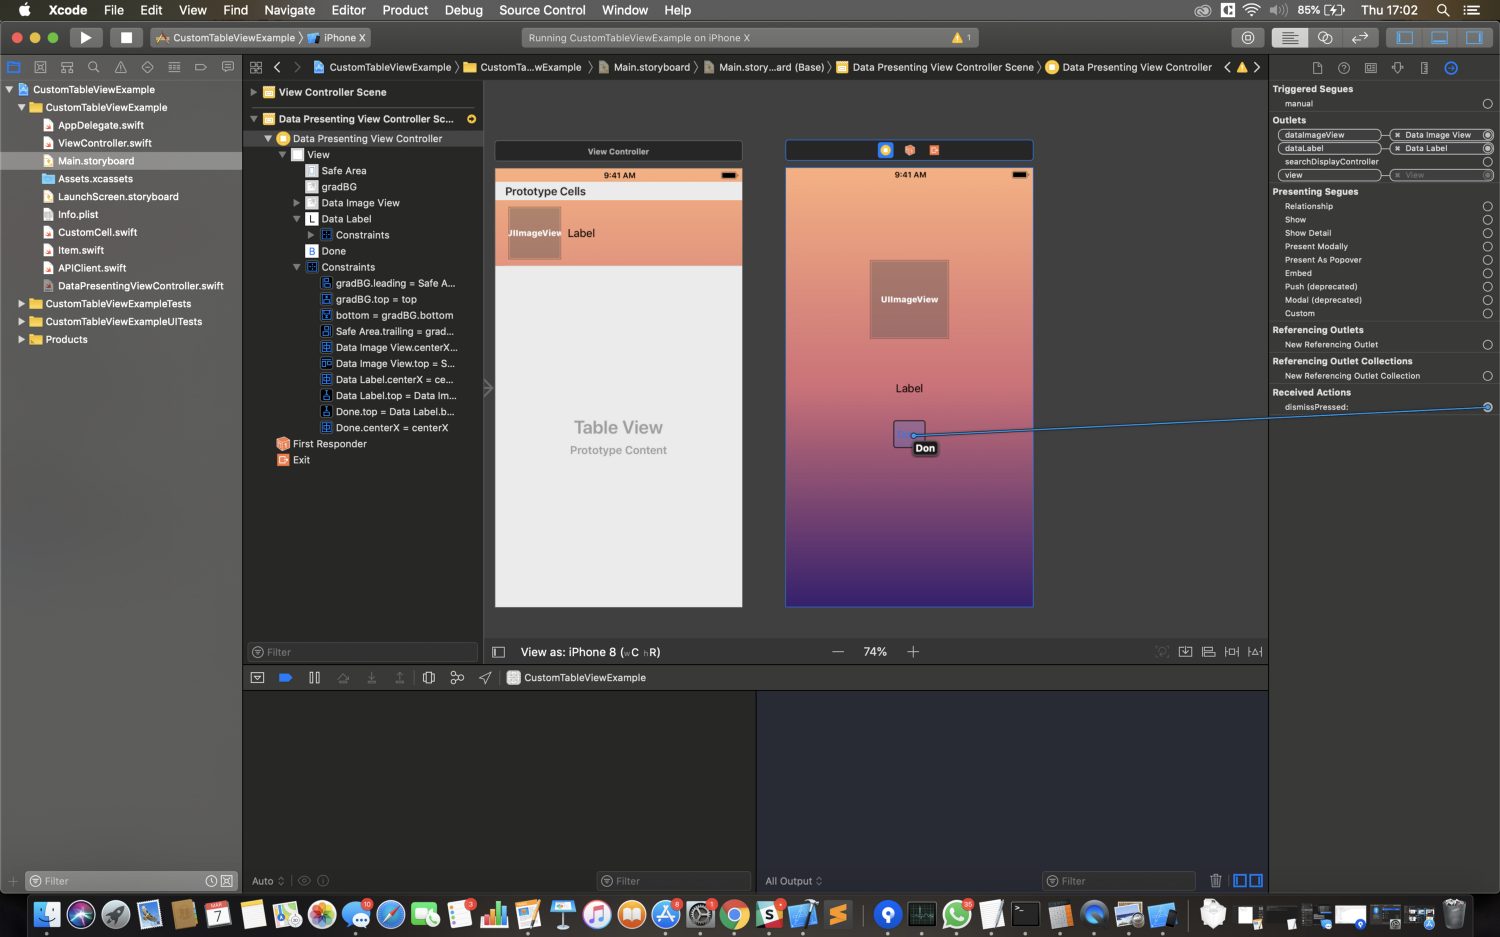
@IBAction func dismissPressed(_ sender:Any) { self.dismiss(animated: true, completion: nil) }This action has to be connected to the button. We are going to connect it via storyboard the same way we connected the outlets.
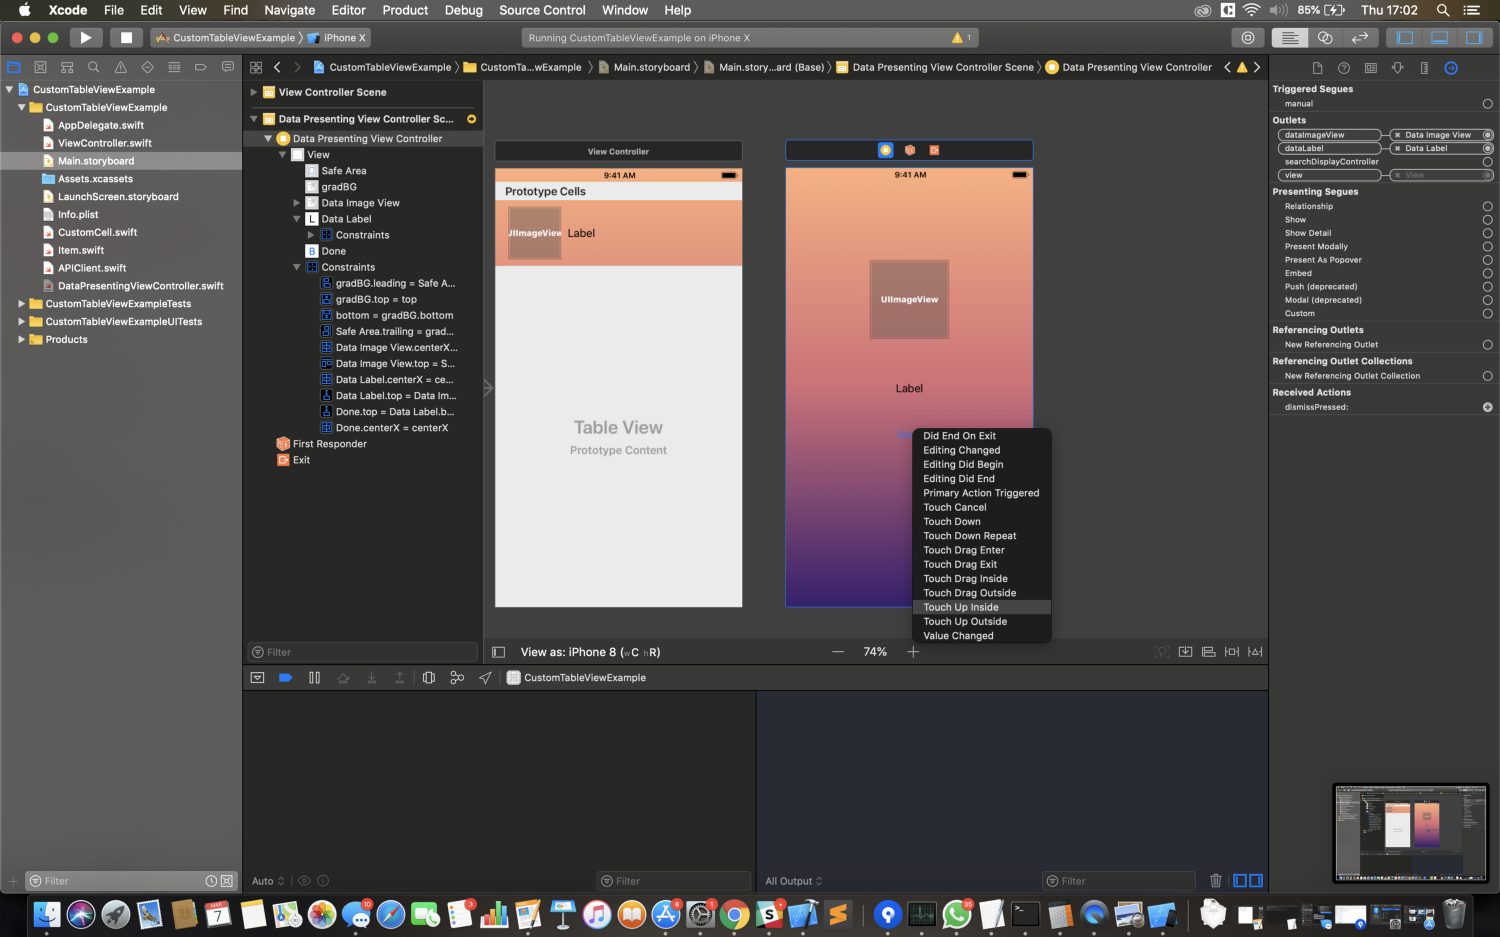
Open Main.storyboard, click on “Library”, find a button, drag-and-drop it under the label, and add some constraints. Change the text of the button by double-clicking on it and type “Done”. Now open “The Inspectors”, click on the “Connections inspector”, go to “Received Actions” section, and you will find the “dismissPressed:”. Connect the action to the button,
and select touchUpInside.
Build and run the app and try it out. That’s it!
Here is the complete project on GitHub. I hope this helps, cheers!
Give Kudos by sharing the post!
ABOUT AUTHOR

Filip Varda
iOS Mobile Developer