This is not a tutorial about how to use a WordPress Plugin Skeleton. There are so many boilerplates and skeletons on the net. Instead, I’m writing from the perspective of a tech lead on the WordPress projects. I’m trying to explain why you need to have your own plugin skeleton for your team and give you an example of how to build one.
Why should you make a new WordPress Plugin Skeleton?
Anyone can build a WordPress plugin in its own way. But if you have to handle several teams on multiple wp projects, add new people, mentor them, help them transfer from one project to another to work on other people’s code, then you should build your own wp plugin skeleton that will help you and your team to:
- speed up development
- easily add a new developer to the project
- make juniors love OOP programming and switch from procedural spaghetti code more quickly
- allow them to easily switch from one plugin to another that someone else in your team already built
- teach them what you know and allow them to “get inside your mind”
- allow them to grow and learn things beyond the WordPress environment
I noticed that some companies have tried to make wp plugin development for their developers so much easier and faster than when you type in terminal $ something create plugin some name you get a bunch of vendors and node modules that are downloading for a whole minute.
I’m not saying that that is bad. But if you are a new developer in that company, what do you think? Should I leave all this here? What are all of these? Why do I need all of them? Should I spend my whole weekend trying to understand? And the most important question, where should I put my code?
It would be best if you introduced your plugin boilerplate and architecture in small steps with real examples. Small steps are much more important than trying to understand everything at once just because it is there.
Development won’t be slower, because, in the end, the lead developer will ask anyway, why did you leave all of these that you don’t need, please remove them. Or it can go the other way, a developer decides to build from scratch because they think that the plugin will be small and doesn’t need any special boilerplate and architecture (shown wrong so many times).
How to build a WordPress Plugin Skeleton?
Oicial WordPress Best Practices cover several important things that you should implement into your skeleton.
Object-Oriented Programming Method:
- Folder structure
- Clear architecture of the plugin
- Boilerplate
- Prefix classes and constants and any function that needs to be registered globally
Create a starting point with an example that developers can test immediately inside the WordPress environment. You can release main versions of the git repository and upgrade each version later by tagging branch checkouted from the version you wish to upgrade.
The point is not to just build something that you can already generate with WP-CLI commands. Like gutenberg blocks, post-types or taxonomy. But to give them an example of how to handle client requests that are more complex and not so related to WordPress, it needs to be somehow integrated with your WordPress site. Our client often needs some third-party integration. That is why I’ve built a skeleton with an example of how to handle custom tables and cron jobs.
Also, I’m a fan of the Symfony framework and excited about Symfony design patterns and components. I have implemented in WordPress skeleton several Symfony components to handle validation and data normalization.
I knew that the learning curve from Procedural programming to OOP will be higher if I introduce components that are not fitting straight forward into WordPress plugins. That is why I made a WordPress Plugin Maker.
WordPress Plugin Maker
If you clone this repo in your local folder, you will notice that the actual WordPress Plugin Skeleton is inside the folder wp-plugin-skeleton. In the root of the repo is another app folder with WordPress Plugin Maker.
Open the terminal. Go to the folder where you cloned the repo. Run the command:
$ php app/bin/console app:make-wp-plugin "<Plugin Name>" "<Author Name>" "<version>"It will make your new plugin, from the copy of the wp-plugin-skeleton, with your name, author and version in the same folder.
Tada! You can now copy that new plugin and install it inside your WordPress plugins folder. It renames all the class names and all prefixes, author and version. When you run the command again, any new class in a new file and/or a new folder will be added immediately. Once you create the WordPress plugin maker, you have it for any future upgrade of the WordPress Plugin Skeleton.
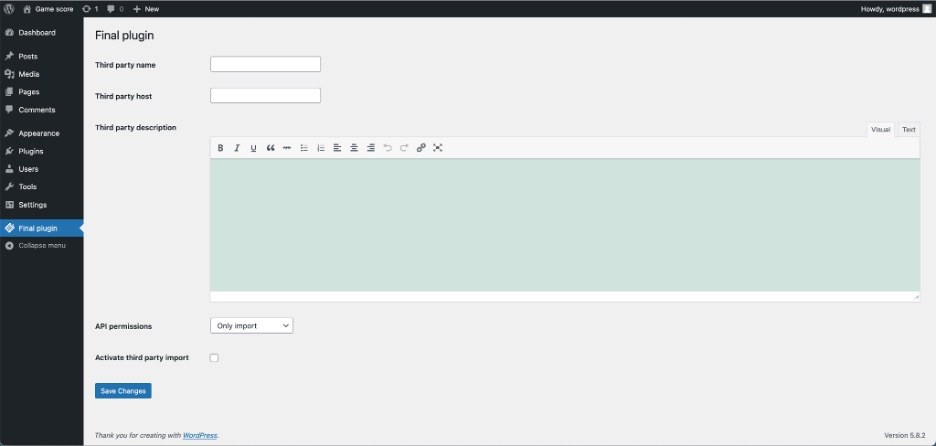
If you need some Options Page and are not so familiar with the Symfony OptionsResolver component, you can use it anyway and learn more and more about it later. You need to follow an example or rename fields for the Options Page in the existing example and have your Options Page ready.
Make and test your WordPress plugin in a few minutes
I will cover the first 6 git versions in this blog post from this repository. You can checkout to each release|tag and test in your WordPress project. I will not go into too much detail about each version now. I will cover more in detail in my next blog posts and update this one with links.
You will need to have WordPress installed to test the plugin. If you don’t have some WordPress setup at your hand and you have Docker installed, you can use this Docker-based environment setup made for this blog post.
Checkout to any version and run the command:
$ php app/bin/console app:make-wp-plugin "<Plugin Name>" "<Author Name>" "<version>"Go to the new folder and run composer install.
Copy the new folder to your WordPress plugins folder to install the plugin. Activate the plugin in the admin.
v1.0.0 boilerplate
First version can be just a plain boilerplate. If you have some big boilerplate in your company try to split it in multiple versions. I have used this one: *LINK*
There is not much to test but you can see that the plugin is valid. Check out this release:
$ git checkout tags/v1.0.0 -b feature/boilerplatev2.0.0 Options Page
In version v2.0.0 I have used the Symfony component OptionsResolver to build the plugin’s Options Page.
If you wish that your developers learn more and grow outside of WordPress scope, develop a WordPress Plugin Skeleton in such a way that developers that never worked with Symfony, or some other framework you like, start to familiarise with its structure and use some of its components.
Check out this release:
$ git checkout tags/v2.0.0 -b feature/options-pagev3.0.0 custom database table
We had many situations where we needed to build a plugin for third-party integration. There was no easy way to import and manipulate data except to create custom database tables for it.
In this version, you have an example of how to create a new custom database table. When you install the plugin, check the database to see if the new wp_game_score Table was created.
Check out this release:
$ git checkout tags/v3.0.0 -b feature/custom-db-tablev4.0.0 mapping entity to database table and validation
We can, at this point, just read third-party json and import directly in the database using a query. But this is not safe. What if some data is wrong or missing? It will throw an error and the whole import will be broken.
Add a model that matches db table fields so that you can validate each input.
Here I used the Symfony Validator component to validate model class and the Symfony Serializer component to turn data back and forth from array to object.
Check out this release:
$ git checkout tags/v4.1.0 -b feature/mapping-entity-to-db-tablev5.0.0 cron job
When you work with third-party data import, you usually need a cron job to run the import regularly. Cron job service with custom schedule example, interface and example for cron job command is added in this version. Also, migration for the cron jobs upon plugin upgrade.
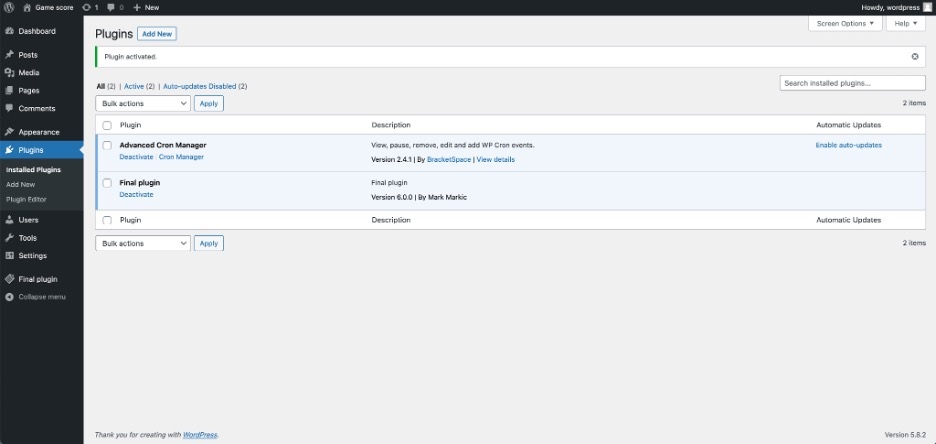
If you like to test and run a cron job manually, install some Advanced Cron Job Manager plugins.

$ git checkout tags/v2.0.0 -b feature/cron-jobv6.0.0 database migration
After some time, when your custom tables are already in production and filled with data you might need to change something. Rename existing fields or add a new one. In that case, you can’t just delete the table and create a new one.
In this version, a system continuously checks if there is a new database migration class and runs its methods. In this way, all that you need to do each time when you need a migration is to create a new class with a given interface and structure and add your logic inside. The version in this class name should be the same as the one you are upgrading the plugin to.You can read the explanation inside the interface prepared for these migration classes.
As soon as you install this new version in wp admin, you can check the database to see if there is a new field called wp_user_id and to confirm that all data is intact.
Check out this release:
$ git checkout tags/v6.0.0 -b feature/database-migrationBuilding your WordPress Plugin Skeleton or use ours for the start
This work is never finished or perfect. But even a small start will help new developers on the project to understand where all the logic should go. This is the way to get them into your mind right from the start and get that ahaaa eect.
I hope this will help you to build some of your own skeleton for your team. You can always use ours for a start.
Give Kudos by sharing the post!
ABOUT AUTHOR
Anka Bajurin Stiskalov
Engineering Lead