Explore how to utilize and make sense of user stories when working as an IT Business Analyst
If you work as an IT business analyst or want to get into this field, chances are you will encounter something called user stories. In this blog post, we’ll cover everything you need to know from the basics to the most common pitfalls and examples in practice when working in a project-oriented environment.
In the following sections, you’ll learn about:
- user stories and what they are
- defining the user roles
- capturing requirements
- creating and grouping user stories
- writing the acceptance criteria
- validating, prioritizing, and mapping user stories
What are user stories?
User stories are a way to describe software features from a user’s perspective using natural language rather than technical. It usually follows a structure that goes like this: As a [user role], I want to [do something] so that I can [achieve something]. An example of a user story for a pet grooming app can look like the next sentence. “As a pet owner, I want to see all the available pet grooming appointments so that I can decide on the date and time that suit me.”
You can divide the main activities for preparing the user stories into seven steps. To begin with, you need to get to know your client, business domain, and goals. This way, you can start defining the user roles and capturing the requirements which translate into user stories. Afterward, you need to validate, prioritize, and finally map the user stories to prepare for development. We will go through each one of these activities in more detail in the following chapters.

Throughout the software development process, teams utilize user stories, starting from requirement elicitation to testing and deployment. When creating user stories, all project members should collaborate to ensure optimal definition from the technology, user experience, and business perspectives. While Business Analysts hold responsibility for user stories, it is crucial to consult individuals in all project roles.
Developers can provide valuable input on what is feasible technology-wise, QAs can give you input regarding the non-functional requirements and edge cases, designers can simplify the user flow, and your client, of course, can give you all the information regarding the business domain. It is a good idea to ask for feedback regularly to make sure you’re going in the right direction when creating user stories.

Defining the user roles
To start creating user stories, you’ll need to figure out the user roles first and to do that you need to get familiar with the business domain and goals. This means it is time to research, analyze, and do requirement workshops. Once you have a good understanding of the business and business goals, defining the user roles is easy.
Sometimes, this process will be straightforward, and the client will be able to describe each role and job responsibility. Then, you as a business analyst, should step in, put on your critical thinking hat and check if those roles make sense, and challenge the client with follow-up questions if you find out the business process is not optimal in any way, or if something else is not clear.
However, sometimes the client won’t be able to tell you and you’ll have to elicit the roles based on the inputs you gathered. Once you define the roles on your own, it is a good idea to discuss them internally with the technical team first and then present the roles to the client to make sure they make sense business-wise and the client understands them.

Capturing requirements
When talking with the client and trying to elicit the business goals and needs, you will probably be capturing functional requirements by default. Functional requirements describe what the app must do, and what functionality it should have, for example, the ability to schedule an appointment. All of these will, at some later stages, become user stories given you are using this approach.
However, you should also capture non-functional requirements (NFRs) which describe the characteristics, but also constraints of the app such as reliability, security, performance, etc. The reason and the need for capturing the NFRs are well described in this article by the Scaled Agile Framework, also known as SAFe:
“Although they may seem subtle, NFRs are just as vital to system success. Failing to meet NFRs can result in systems that do not meet the needs of the business, Customers, market, or applicable regulations or standards. In some cases, non-compliance can cause significant issues, such as cost, recalls, privacy, security, safety risk, legal exposure, and more.” – © Scaled Agile, Inc.
All of the captured requirements need to be estimated so the project can be properly planned and agreed upon with the client. During this process, the project’s scope and the client’s expectations are set. This is also why it is crucial not to overlook the NFRs and to capture them as well. Not capturing them can easily make the project go sideways. During the NFR analysis, I always rely upon and ask the technical team for their input since this is mostly their domain so yes, as a BA you do carry this responsibility, but you should always have support.
Since NFRs can get quite technical and aren’t really something that a user would regularly say I don’t prefer writing them in the form of user stories, but it is not wrong if you do. I suggest writing simple descriptions and acceptance criteria for the NFRs and grouping them into categories. For example: “Localization: The supported app currency is Euro.” Also, I would suggest separating the functional and non-functional requirements but referencing the NFRs in functional user stories when they are closely related.

Creating and grouping user stories
Now that you have established the user roles and got familiar with the business domain, you can start writing the titles of the user stories that you identified and group them by user roles to have a clear understanding of which role does what. If this is something that is not applicable in your case (e.g. maybe you have just one role), you can skip this step and group the user stories into epics right away. Think of an epic as a large user story that is composed of many smaller user stories which are closely related to each other and bring you toward the business goal.
In the example below, on the left side you can see how the user stories (yellow) are first grouped by different roles, and also duplicated in the case when two different roles need to be able to execute the same user story. On the right side, you can see how, based on the related user stories, the epics are created and user stories are assigned accordingly.

Keep in mind that there simply isn’t a one-size-fits-all solution. Every time I’m working on some project I improvise and adjust the approach I use so that it makes sense in a given context.

Writing the acceptance criteria
By now, you have probably captured a lot of details during the requirement workshops and it is time to give them structure and include them in the user stories, in other words, to write acceptance criteria. Essentially, acceptance criteria can be defined as a list of conditions that need to be met for the user story to be accepted by the stakeholders.
For example:
- the user must be able to see a list of available services
- the user must be able to select the desired service
- when the user selects the desired service, the service description and price must be shown
During the development phase, developers and QAs primarily use the acceptance criteria to ensure that the developed software aligns with the agreed requirements. However, it is important to get the client’s confirmation first to ensure mutual understanding and expectations that certain parts of the software must meet.
Besides the checklist format displayed above, there is also another popular format you can use that goes like this: Given [the context], When [some action happens], Then [some results occur]. For example, Given I am a pet owner, When I select the desired service, Then the service description and price are displayed. Which acceptance criteria format you are going to use is simply a matter of personal preference. I’ve only used the checklist format because I find it easier to read, but this is entirely up to you.
One general rule worth mentioning when writing the acceptance criteria is to never dictate implementation unless you have a very good reason for it. For example, it was specifically requested by the client to be done in a certain way and the team agreed that it makes sense. I must admit that this is the most common mistake that I see my peers doing when writing the acceptance criteria.
So what exactly does this mean? To avoid this mistake, you need to use proper wording, so instead of saying “The user must be able to click on a button to save changes,” rather say “The user has the option to save changes.” In this way, you are not suggesting a solution being a button and you are allowing other team members such as designers to do their jobs creatively.

Validating the user stories
When writing user stories, it is a good practice to validate them often, which means asking yourself some questions to make sure you are on the right track. For this purpose, you can use the INVEST mnemonic to help you remember the basic principles that need to be met to produce a good product backlog. INVEST describes the characteristics of the product backlog items (user stories in our case) and stands for Independent, Negotiable, Valuable, Estimable, Small, and Testable.
If you are following the INVEST principle when validating user stories, ask yourself these questions:
Is the user story independent?
- It is not always possible to have independent user stories especially because we want to keep them small, but do think of ways to achieve independence to remove any potential blockers once you reach the development phase.
Is the user story negotiable?
- This refers to leaving room for discussion and not including implementation details such as UI design in the user story. We already covered this topic in the chapter “Writing the acceptance criteria” so you are good to go.
Does it bring value to the stakeholders?
- You need to know the business domain and goals first to be able to create user stories that will bring you closer to those goals and once an increment is delivered, with good communication and expectation setting, the stakeholders will recognize the value.
Is the user story easy to estimate?
- A user story should be clear and concise, and therefore easily estimated. If not, then consider splitting the user story into smaller user stories or investigate further and find the root cause of the problem. Ask the technical team for support if needed.
Is the user story small enough?
- A user story must fit into a single sprint, and ideally, it can be done in a few days. If not, it means that the user story is too big and needs to be split.
Can you test the user story?
- User stories must provide enough details so the developers know what needs to be done and for the QAs to know why, how, and what to test.
Additional questions you can use to validate the user story:
Can the user story be easily added or removed from the scope?
- In projects, you often have to add or remove user stories from the scope to fit the budget or timeline, and this is another reason why user stories need to be independent and small enough.
Is the user story simple enough for all the stakeholders to understand?
- Non-technical people must be able to understand the user story. User stories can contain technical details if the team agreed upon them so they won’t be forgotten later on, but in the form of side notes, rather than the main part of the story.
Is the user story over-engineered?
- Think about if there are any ways to simplify the user story while still bringing value to the stakeholders. The KISS principle (Keep It Simple, Stupid!) is always a good way to go.

Prioritizing the user stories
Once you finish writing the user stories, it’s time to prioritize them together with the stakeholders. In Q, we are using the MoSCoW method for prioritization. Still, whatever method you decide to use, the bottom line is that you need to be able to distinguish between the crucial and less crucial user stories.
When you prioritize, keep in mind the dependencies between user stories. For example, if the prerequisite for appointment booking is having a user account, then user account creation must have the same or higher level of prioritization than appointment booking.
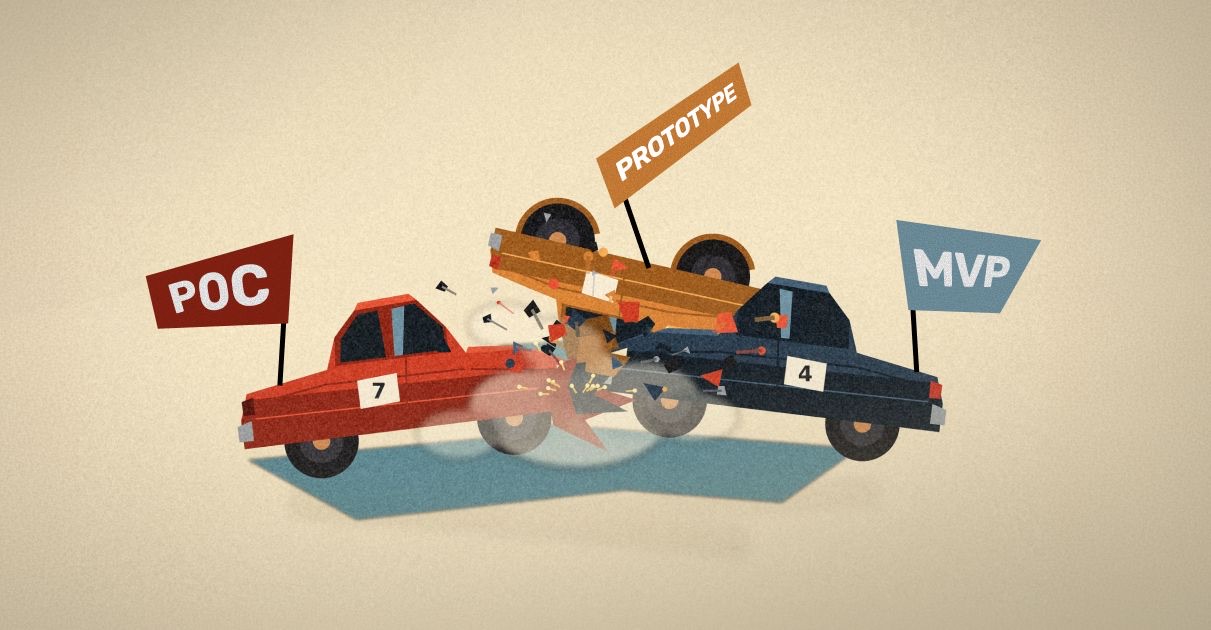
One concept to also keep in mind is the minimum viable product (MVP). The goal is to do a minimum set of must-have, crucial features that solve some problem and deploy it to the market as soon as possible so that we can validate the idea and collect feedback, and then improve the product based on that feedback.
To sum it all up, when doing the prioritization, do it together with the client, watch out for user story dependencies, and consider the MVP approach to the project as it should bring your client the most value with the minimum set of functionalities.
Also, remember that the prioritization meeting should be a discussion. As usual, we BAs don’t just blindly accept what we are told, but we question decisions to make sure they make sense.

Final deliverables & user story mapping
Under these few paragraphs, you will find examples of what your final deliverables might look like. You will see that I used numbering for the epics and user stories as well as NFRs since it makes navigating a huge backlog a lot easier. If something gets descoped, it is easier to find and manage an item that is called “E08-02” because it tells you it is the 2nd item in the 8th epic, instead of going by the full name of a user story that was maybe changed in the meantime or can be mistaken with a user story with a similar name.
All the examples covered in this blog are just one out of a hundred ways of preparing user stories. BA is a creative role, be free to explore, modify, and find solutions that work for you.
I would also advise that you use tools such as Google Sheets for writing the requirements because requirements written in this way are more visible and easier to manage as they are all in one place so you can recognize patterns and dependencies if they exist, and see potential mistakes. The main takeaway is, if you can, and if it makes sense in your case, use a tool that allows you to have an overview of all the user stories with their descriptions in one place.

When you reach user story mapping, it’s time to pat yourself on the back, but also to take into consideration all that you learned so far and arrange the user stories in a way that will make sense from the business and technical perspectives. Basically, you will be creating a high-level roadmap.
What I like to do here is take some time, put all of the user stories on the Miro board so I can have a nice overview of them, and then start moving them around and arranging them in a way that the most important user stories that are prerequisites for other user stories come first.
After finishing the sorting, I would call an internal meeting to present the user story map to the technical team and to discuss if it makes sense, or if any rearrangements are necessary due to technical reasons. After you have that set and ready, it is very easy to do planning sessions once the project hits the development phase.
Below, you will find an example of what the user story map can look like. This is a template that I came up with because it made sense for me and my project. Of course, you can find many similar templates online and adjust them to your liking and needs.

Conclusion
In the life of a BA, just like in life in general, you simply can’t make everybody happy. I’ve had comments from developers on one project that my user stories were too big, and then I took that feedback and changed the approach on another project, and then I got comments from the solution architect that they were too small.
Writing user stories takes time and practice, and you will make mistakes. But if you keep an open mind, ask for feedback, and learn from it, you will master user story writing in no time. Most importantly, with time you will learn to trust your judgment and find creative ways to approach projects and challenges and you’ll do so with confidence.
Give Kudos by sharing the post!
ABOUT AUTHOR

Mateja Kardasic
Business Analyst