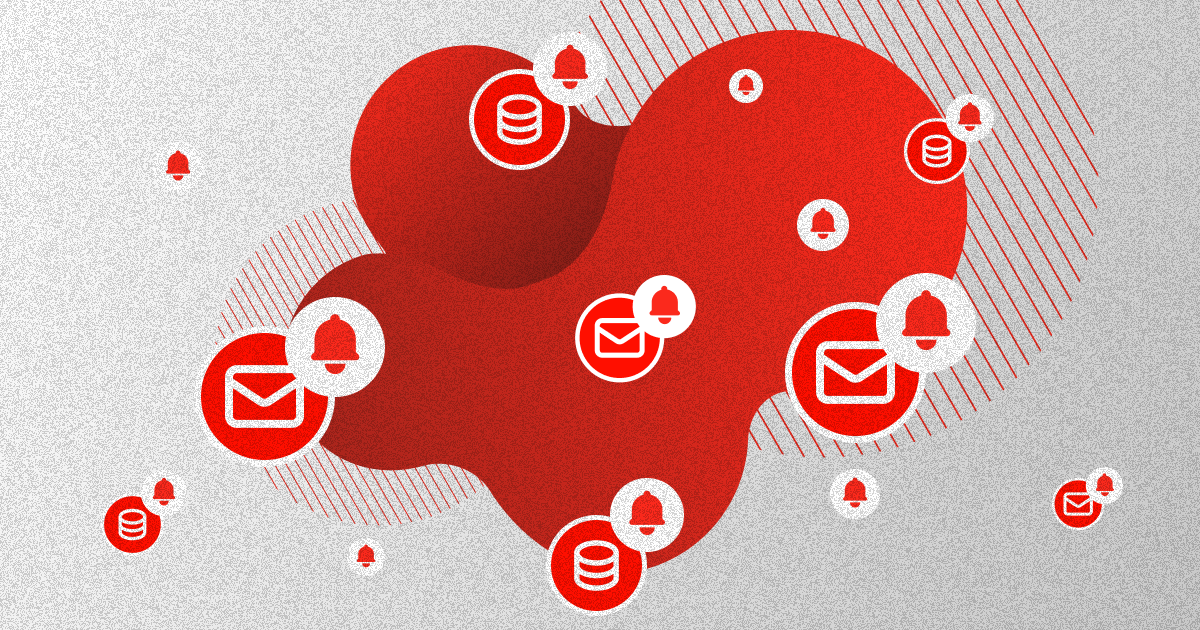
Let’s delve into the world of Laravel, a powerful PHP framework, to explore mail and database notifications and learn how to implement them. In this blog post, we’ll also cover how to create and send these notifications.
Laravel is a popular PHP web framework, created by Taylor Otwell. It provides developers with a large range of tools and features that help with building modern websites. One of these features is the Laravel notification system, which we will be covering today. We’ll be focusing on database and mail notifications.
Technical requirements:
1. PHP 8.1
2. MySQL 8.0
3. Laravel 10
Project setup
First, we will need to create a new Laravel project:
composer create-project laravel/laravel laravel-notifications
We will also be using Laravel Sail which is a lightweight CLI for dealing with the Laravel Docker environment. Sail is optional, you can just proceed without it. The difference will be that instead of using the sail prefix in commands, you’ll use the php prefix.
Sail is already added, so we only need to run:
php artisan sail:install
After running Sail installation, it’s going to ask us a question about which services we would like to install. We will pick MySQL but you can pick any that Sail offers.
Let the Sail build run, and once it’s successful we have our Sail project setup.
We only need to run this in our project directory:
./vendor/bin/sail up
Since we are going to be sending notifications on the registration of users, we will be using Laravel Breeze as our starter kit to provide authentication. This will give us authentication out of the box, so we don’t need to create our own.
For configurating Breeze we need to run:
composer require laravel/breeze --dev
After we install Breeze, it will ask us some configuration questions, these are not important as you can use notifications in this tutorial with any of the Breeze stacks. So you can pick whichever you want.
Which stack would you like to install? Blade.
Would you like to install dark mode support? Yes.
Would you prefer Pest tests instead of PHPUnit? No.
After installation is complete, we only need to run commands to finish breeze installation:
sail artisan migrate

sail npm install

sail npm run dev
Mail notifications
Starting with mail notifications, we first need to set up send mail configuration in our environment file. For caching our test mails, we will be using Mailtrap, but you can use any service you want. This is how our configuration should look in .env file:
MAIL_FROM_ADDRESS="hello@example.com"

MAIL_FROM_NAME="${APP_NAME}"

MAIL_MAILER=smtp

MAIL_HOST=sandbox.smtp.mailtrap.io

MAIL_PORT=2525

MAIL_USERNAME=username

MAIL_PASSWORD=password

MAIL_ENCRYPTION=tls
For mail notifications, we are going to create a notification to send a welcome mail to the users when they register for an account.
For creating notifications we use the make:notification command, with the name of the notification. This will create a notification folder in our app directory with the created notification.
Let’s create our first notification:
sail artisan make:notification WelcomeNotification
Let’s go over our newly created WelcomeNotification. Firstly, we have the via() method, in which we specify what channel we are going to be using to send the notification. This includes mail, database, Slack, SMS, or any community channel. We can also add custom channels ourselves. We can specify more than one channel, or using the $notifiable, we can specify some custom conditions to determine which channel will the notification be sent to.
public function via(object $notifiable): array

{

    return ['mail'];

}


or


public function via(object $notifiable): array

{

    return $notifiable->prefers_mail ? ['mail'] : ['mail', 'database'];

}
We also have the toMail and toArray methods. We will use these methods to configure what to send when we notify.
public function toMail(object $notifiable): MailMessage

{

    return (new MailMessage)

                ->line('The introduction to the notification.')

                ->action('Notification Action', url('/'))

                ->line('Thank you for using our application!');

}


public function toArray(object $notifiable): array

{

    return [

        //

    ];

}
Since we are focusing on mail notifications, we need to define a toMail method that returns a MailMessage instance. We can customize a lot of information, like specifying from, subject, greeting, lines, and calls to action. We can even attach one or multiple files as well as add tags and metadata. If we need to customize the Laravel mail template provided, we can do so by publishing the package resources:
php artisan vendor:publish --tag=laravel-notifications
For now, we will only be sending a mail message, for which we only need to specify mail in the via method. For the message, we will add a form address, subject, greeting, and line. We will also add a call to action which will lead to the dashboard of our application. This call to action will render a button in our mail, which will take us to the defined URL.
public function __construct()

 {

     //

 }


 public function via(object $notifiable): array

 {

     return ['mail'];

 }


 public function toMail(object $notifiable): MailMessage

 {

     return (new MailMessage)

                 ->from('welcome@example.com', 'Welcome')

                 ->subject('Welcome notification.')

                 ->greeting(sprintf('Hello %s!', $notifiable->name))

                 ->line('Welcome to our app!')

                 ->action('Visit dashboard', url('/dashboard'));

 }
To send the notifications, there are two ways, one is by using the notify method specified in the Notifiable trait, which is being used by our User model. And the other is by using the notification facade.
We will be using the first method as our User model is already using the notifiable trait. So in our Controllers\Auth\RegisteredUserController we can add the notify call after auth login.
public function store(Request $request): RedirectResponse

{

    // code


    Auth::login($user);


    $user->notify(new WelcomeNotification());


    // code

}
We can test it now, and if we register with a new account, we will get the welcome mail in our testing Mailtrap inbox.
Database notifications
One other option is to save the notification to the database. This is useful when we want to display notifications to our users in our app interface.
To use database notifications, we first need to create a table to hold the notifications in the database.
To do that, we only need to run:
sail artisan notifications:table

sail artisan migrate
Laravel will then create the notifications table in our database of choice.
Let’s go over some of the columns that were created. We will have the type of notification, in our example, this will be the NewPostCreatedNotifications. The Notifiable type is the User model, with the notifiable id which is our User id. In the data column, we will be saving the data from our notification as encoded JSON. And lastly, we have the read-at column which we can use to mark the notification as read by the user.
Before we create our database notification we will need some setup, as we will be sending a notification to users’ followers after the user creates a post. To do this, let’s first create a post and followers table migration:
sail artisan make:migration create_posts_table

sail artisan make:migration create_followers_table
// Posts table

public function up(): void

{

    Schema::create('posts', function (Blueprint $table) {

        $table->id();

        $table->unsignedBigInteger('user_id');

        $table->foreign('user_id')->references('id')->on('users');

        $table->string('title', 255);

        $table->text('body');

        $table->timestamps();

    });

}


// Followers table

public function up(): void

{

    Schema::create('followers', function (Blueprint $table) {

        $table->id();

        $table->unsignedBigInteger('followed_id');

        $table->foreign(‘followed_id’)->references('id')->on('users');

        $table->unsignedBigInteger('follower_id');

        $table->foreign('follower_id')->references('id')->on('users');

        $table->timestamps();

    });

}
sail artisan migrate
Now let’s create a database seeder so that we have some test data. We will create a seeder that creates one main user and three follower users.
For creating a seeder we need to run:
sail artisan make:seeder FollowerSeeder
But before we do this, let’s add the follower’s relationship to the user class.
public function followers(): BelongsToMany

{

    return $this->belongsToMany(User::class,  'followers', 'followed_id', 'follower_id');

}
In the seeder, we will create a main user, with which we can log in so we need to make sure the mail is unique.
public function run(): void

{

    $mainUser = User::factory()->create([

        'email' => 'admin@admin.com',

    ]);


    $followers = User::factory()->count(3)->create();


    $mainUser->followers()->sync($followers->pluck('id'));
Let’s seed the database with our users:
sail artisan db:seed --class=FollowerSeeder
Now let’s create a post controller and a model so that we can send the notification to notify our followers about a new post.
sail artisan make:model Post

sail artisan make:controller PostController
Finally, let’s make the notification, in this case, it will be called NewPostCreatedNotification.
sail artisan make:notification NewPostCreatedNotification
Now let’s configure our new notification. We will pass a post to the notification so that we can notify which post was created. We will also set the via method to the database. And we will configure the toArray method to save the title of the post to the database in the data column.
We can use the toArray or toDatabase methods to save data in the database, the difference is that the toArray method is also used for broadcasting to your frontend. We can also use both of these methods if we have a difference in what we want to broadcast and what to save in the database.
For now, we will only be using the toArray method.
public function __construct(private Post $post)

{

    //

}


public function via(object $notifiable): array

{

    return ['database'];

}


public function toArray(object $notifiable): array

{

    return [

        'title' => $this->post->title,

    ];

}
This time, to send our notification we will be using the notification facade. The difference is that it’s used mainly when you need to send a notification to a collection of users. Which is the case here.
Let’s send our notification in the PostController:
public function store(Request $request): RedirectResponse

{

    $post = new Post();

    $post->user_id = Auth::user()->id;

    $post->title = $request->title;

    $post->body = $request->body;

    $post->save();


    $followers = Auth::user()->followers;


    Notification::send($followers, new NewPostCreatedNotification($post));


    return back()->with('success', 'You created a new post!');
We will create a new post, get authenticated users’ followers, and send the notification to them.
That’s it, if we check our database we will see the new entries with the post title in our data column.
Another thing to cover is accessing the notifications, we can do that easily because of the Notifiable trait in our User model, which offers methods of accessing the notifications via eloquent relationships. Here are some methods for access in our Notifiable trait:
// Get all notifications

$user->notifications


// Get unread notifications

$user->unreadNotifications


// Mark all user notifications as read

$user->unreadNotifications->markAsRead();


// Delete all user notifications

$user->notifications()->delete();
Conclusion
And there it is, we covered mail and database notifications, with this being just a small overview of the Laravel notifications system. Laravel offers even more notifications like SMS, Slack and, not to forget all the custom community channels.
Give Kudos by sharing the post!
ABOUT AUTHOR

Ena Ivanusic
PHP Developer