
A widget is part of an app that displays select information on the Home Screen so the user doesn’t need to open the associated app to find it.
Widgets keep track of changes within an app, giving users access to the latest information. If users want details, the widget can transfer them right to the associated app. Widgets can be static or dynamic, meaning that you can either present data that will never be updated or some data that gets updated any time you want.
Without any further ado, let’s start by building a simple app that will generate a new quote on swipe.
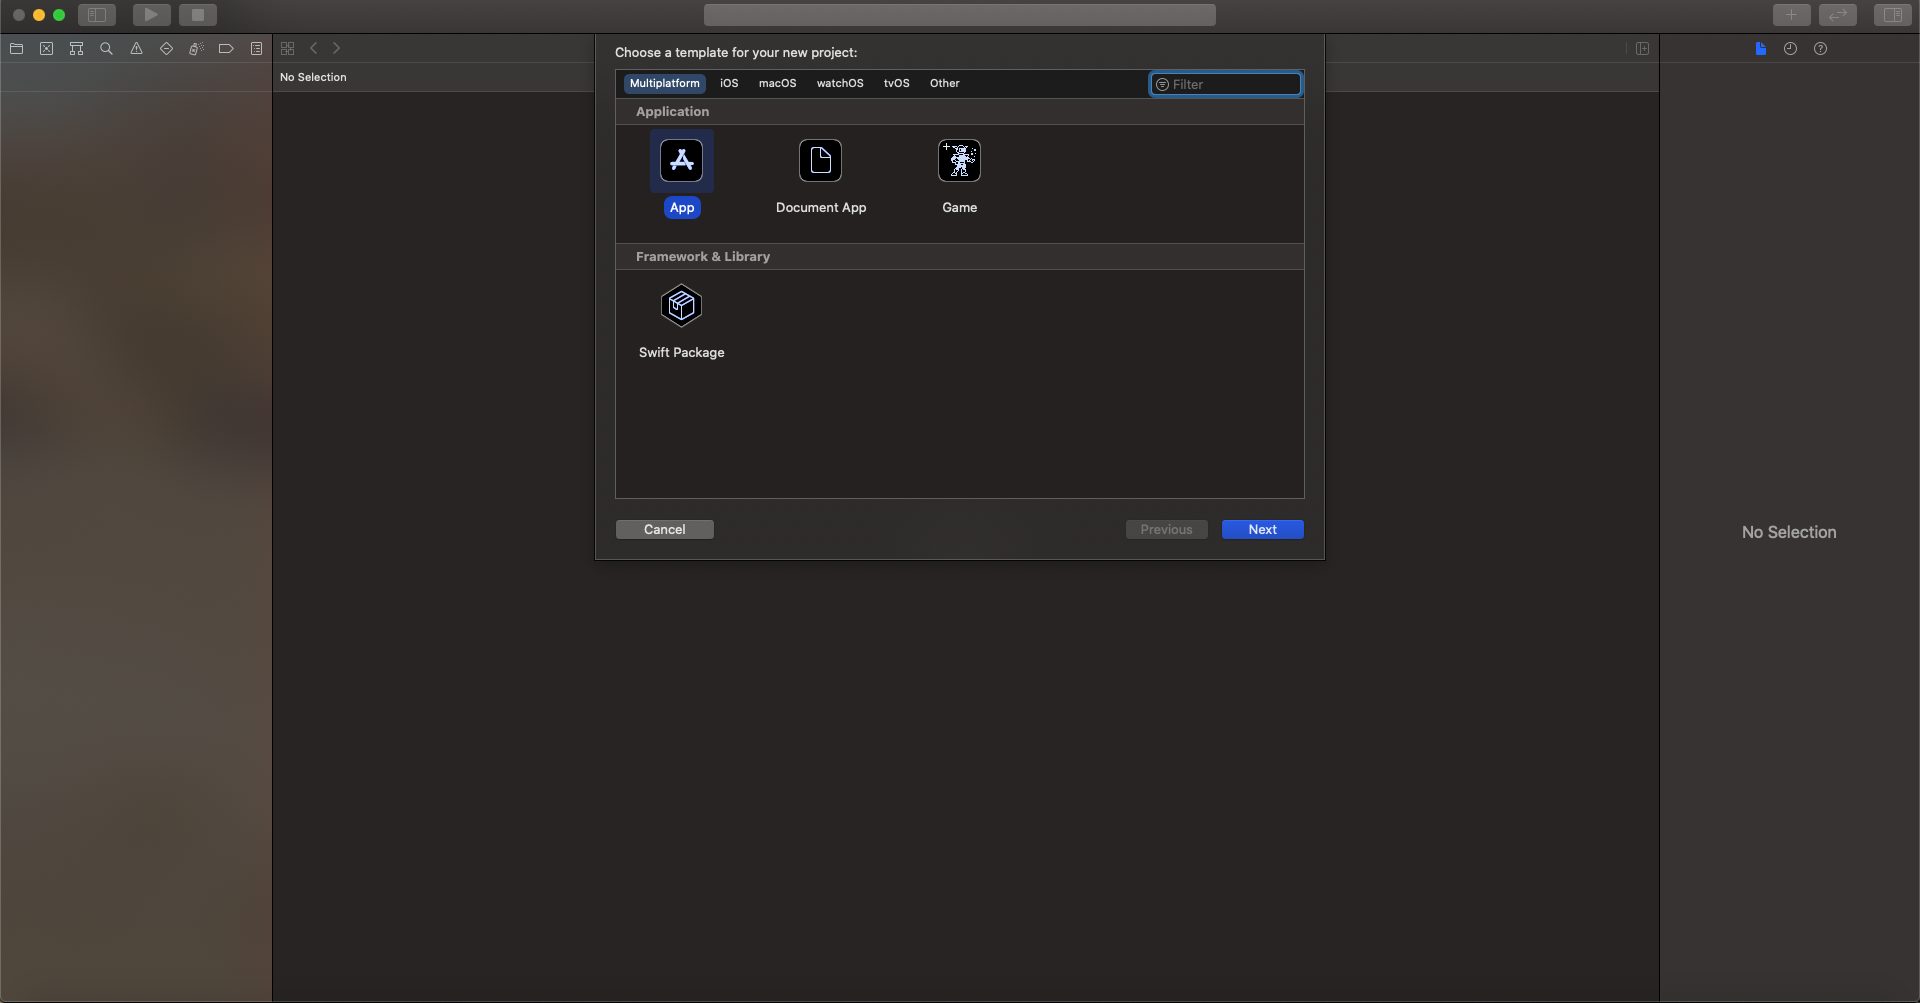
Start by creating a new Xcode project. Select App and then Next.
Name the project as you like. I named mine “WidgetApp“ for the sake of this tutorial.
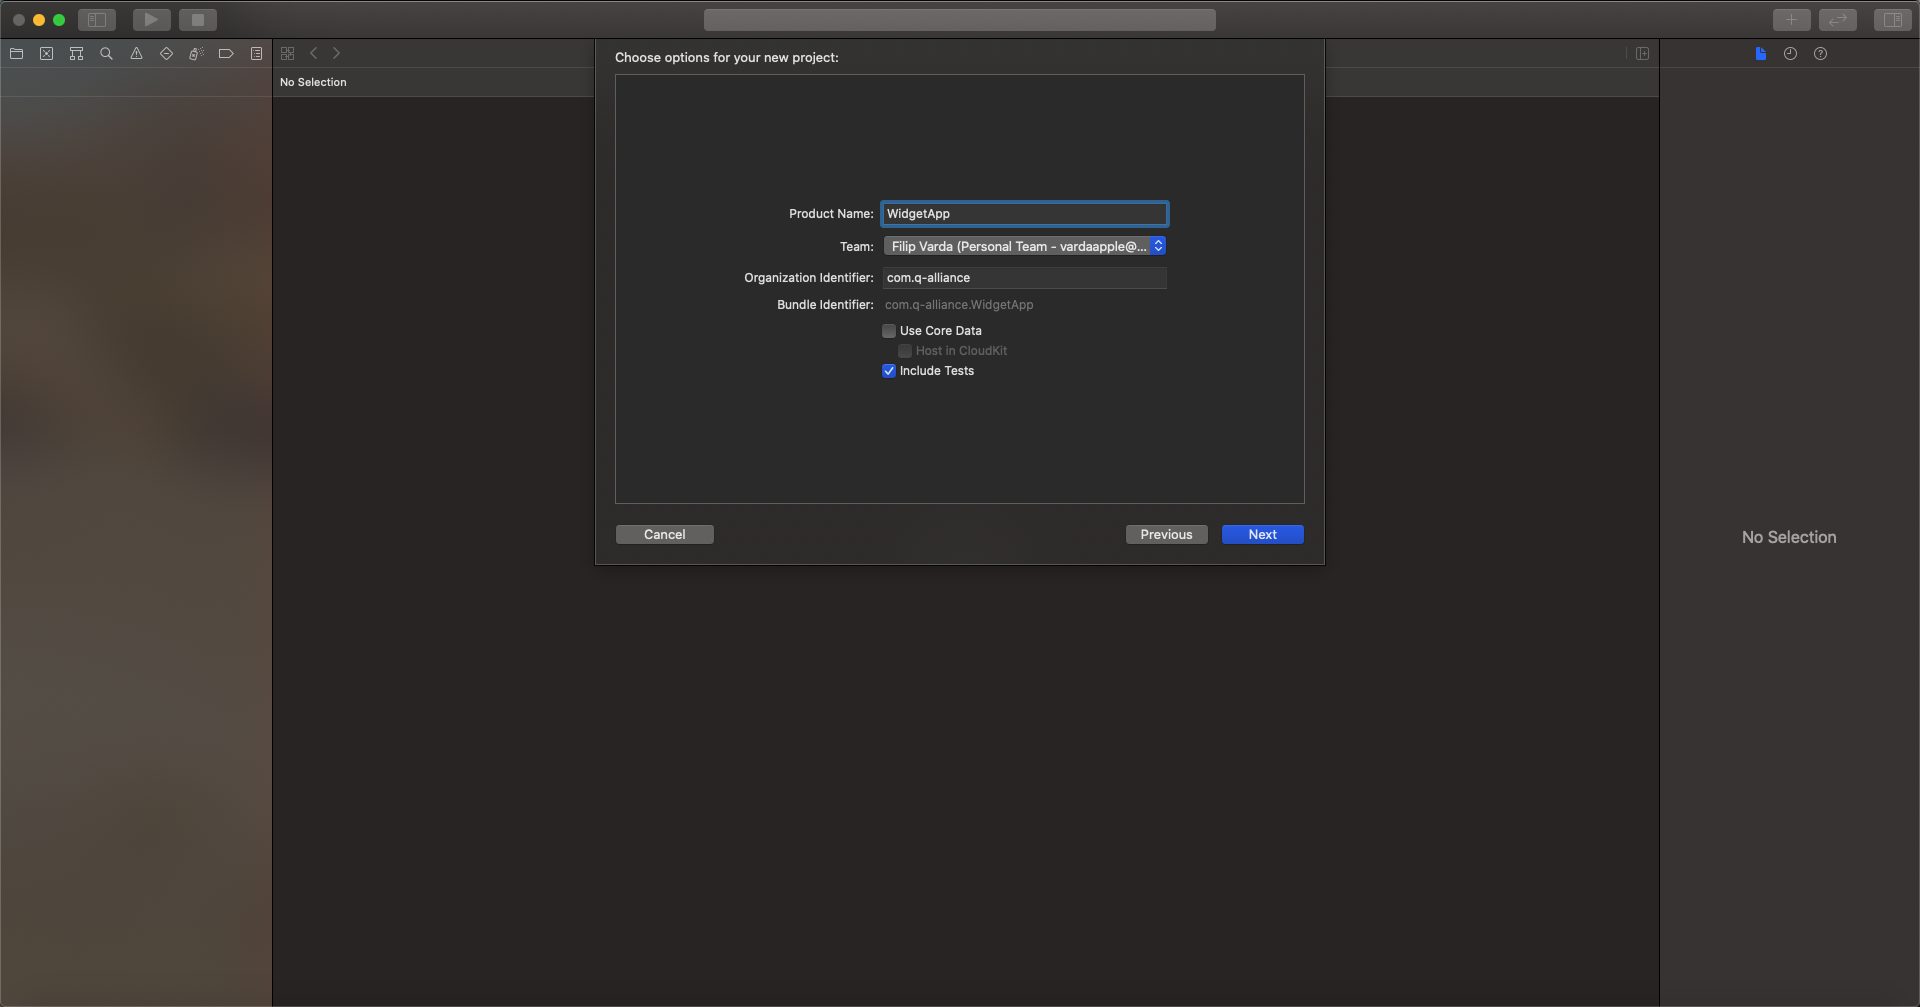
Click next, choose where you wish to save your project, and let’s start coding.
First, we will remove all SwiftUI files and configurations from our app because we don’t need them at the moment. We will only use SwiftUI for our widget.
To do so, you should do the following:
- If there is a scene delegate class, remove it
- Completely remove the Application Scene Manifest entry from Info.plist
- If there are any scene-related methods in your app delegate, remove those methods
- If missing, add the property var window: UIWindow? to your app delegate
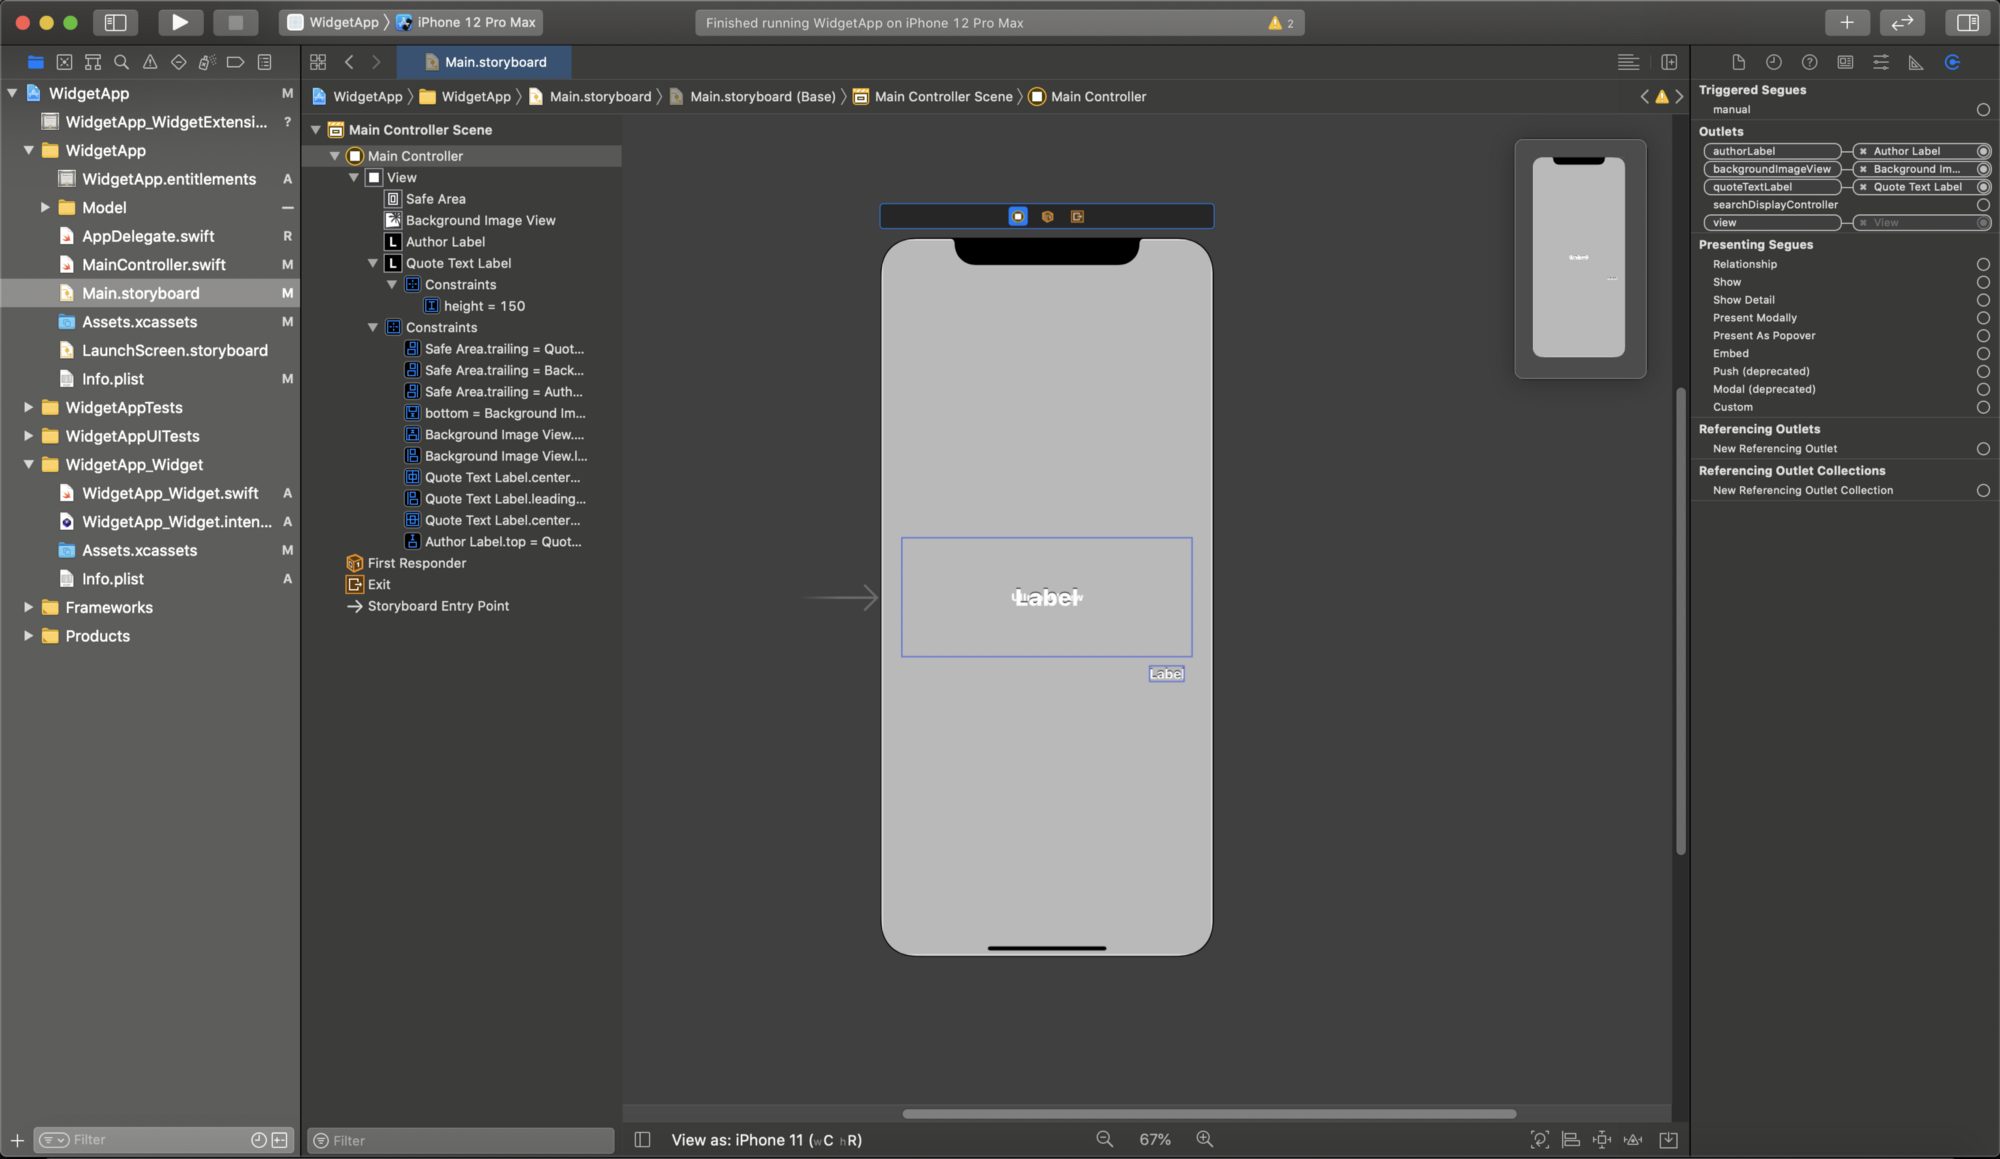
After that is done, we can continue building our app. We will use only one UIViewController with simple UIImageView and two UILabels. Open your Main.storyboard file and add the elements to the screen. Use constraints to make the UIImageView cover the whole screen. After that, you can place the UILabel in the center of the screen with some spacing from the left and right edges of the screen.
For the sake of this tutorial I made the UILabel’s height equal to 150, but if you wish you can make it resizeable. Now add another UILabel below the first one, but make it much smaller because this will be used to display the author’s name. You can design your controller however you want, I just found this to be easy and good-looking.
Create the Outlets for your elements, connect them and your UIViewController (in my case that is MainController) and you should end up with something like this:
Let’s done some work in code. We will need two arrays on our ViewController. Those arrays will contain images that will be set as background and quotes that will be presented on screen.
var arrayOfImages = [UIImage]()

var arrayOfQuotes = [Quote]()
You will notice that there is an array of Quote objects. We will need this since our Quote object will contain 2 properties, the quote’s text and the author of the quote. Create a file named Quote.swift and in there create a structure Quote that comforts the Codable protocol (we will need it later):
import Foundation


struct Quote: Codable {

   var text = ""

   var authorName = ""

}
We will need a view model for our app since we are going to mock all the data for simplicity. Create a QuoteViewModel.swift file. In that file there will be two properties again:
import Foundation

import UIKitclass QuoteViewModel: NSObject {   var quotes: [Quote] = [Quote(text: "Talent is given, greatness is earned.", authorName: "– Vivian Greene"),

   Quote(text: "Don’t let someone else’s opinion of you become your reality.", authorName: "– Vivian Greene"),

   Quote(text: "Listen, smile, agree and then do whatever you were going to do anyway.", authorName: "– Napoleon Hill"),

   Quote(text: "Never let a bad day make you feel like you have a bad life.", authorName: "– Vivian Greene"),

   Quote(text: "The person who says something is impossible should not interrupt the person who is doing it.", authorName: "– Vivian Greene"),

   Quote(text: "It is never too late to be what you might have been.", authorName: "– Napoleon Hill"),

   Quote(text: "Great minds discuss ideas. Average minds discuss events. Small minds discuss people.", authorName: "– Michael Jordan"),

   Quote(text: "If opportunity doesn’t knock, build a door.", authorName: "– Vivian Greene"),

   Quote(text: "The higher you climb the better the view.", authorName: "– Michael Jordan"),

   Quote(text: "With patience you can even cook a stone. (One of the best quotes to live by)", authorName: "– Michael Jordan"),

   Quote(text: "Don’t tell me the sky’s the limit when there’s footprints on the moon.", authorName: "– Vivian Greene"),

   Quote(text: "Life is not measured by the amount of breaths you take, but by the moments that take your breath away.", authorName: "– Michael Jordan"),

   Quote(text: "It’s important to make someone happy, and it’s important to start with yourself.", authorName: "– Napoleon Hill"),

   Quote(text: "If you settle for just anything, you’ll never know what you’re truly worthy of.", authorName: "– Michael Jordan"),

   Quote(text: "In life, you get what you put in. Everything comes back around.", authorName: "– Michael Jordan"),

   Quote(text: "Death is not the greatest loss in life; the greatest loss is what dies inside while you’re still alive.", authorName: "– Napoleon Hill"),

   Quote(text: "If you don’t like something, change it. If you can’t change it, change the way you think about it.", authorName: "– Vivian Greene"),

   Quote(text: "Life isn’t about waiting for the storm to pass, it’s about learning to dance in the rain.", authorName: "– Napoleon Hill"),

   Quote(text: "I know where I’m going and I know the truth, and I don’t have to be what you want me to be. I’m free to be what I want.", authorName: "– Napoleon Hill"),

   Quote(text: "Dream as you will live forever, live as you will die today.", authorName: "– Napoleon Hill"),

   Quote(text: "If you want something you’ve never had then you you’ve got to do something you’ve never done.", authorName: "– Napoleon Hill"),

   Quote(text: "Whatever the mind of man can conceive and believe it can achieve.", authorName: "– Vivian Greene"),

   Quote(text: "Some people want it to happen, some wish it would happen, others make it happen.", authorName: "– Vivian Greene"),

   Quote(text: "Life is a stage and you get only one performance. Make it a good one.", authorName: "– Vivian Greene"),

   Quote(text: "As long as you’re going to be thinking anyway, THINK BIG.", authorName: "– Vivian Greene"),

   Quote(text: "Nothing is impossible, the word it self says I’m possible.", authorName: "– Vivian Greene"),

   Quote(text: "They laugh at me because I’m dierent, I laugh at them because they’re all the same.", authorName: "– Napoleon Hill"),

   Quote(text: "Don’t be afraid to give up the good to go for the great.", authorName: "– Vivian Greene"),

   Quote(text: "Life is short, live it. Love is rare, grab it. Anger is bad, dump it. Fear is awful, face it. Memories are sweet, cherish it.", authorName: "– Michael Jordan"),

   Quote(text: "To live is the rarest thing in the world. Most people exist, that’s all.", authorName: "– Michael Jordan"),

   Quote(text: "Live life to the fullest because you only get to live it once.", authorName: "– Michael Jordan"),

    Quote(text: "Do things that count, but don’t count the things you do.", authorName: "– Vivian Greene"),

   Quote(text: "Begin each day with a grateful heart.", authorName: "– Vivian Greene"),

   Quote(text: "Opportunity is missed by people because it is dressed in overalls and looks like work.", authorName: "– Napoleon Hill")

]   var backgroundImages: [UIImage] = [

      UIImage(named: "motivation_phone_BG1")!,

      UIImage(named: "motivation_phone_BG2")!,

      UIImage(named: "motivation_phone_BG3")!,

      UIImage(named: "motivation_phone_BG4")!,

   ]

}
Here, I’ve added 50 quotes with their authors and some images that will be our background images. You can use the same images as I did and you can download them here.
Now that that part is done, we have mocked the data that will be presented.
Let’s add some more properties to our ViewController:
var arrayOfImages = [UIImage]()

var arrayOfQuotes = [Quote]()


var presentingQuote: Quote?

var presentingBackground: UIImage?
These two properties will be used to store the image and the quote that we are presenting. Jump to your viewDidLoad() function. This is how mine looks like:
override func viewDidLoad() {

    super.viewDidLoad()

    self.view.backgroundColor = .black

    backgroundImageView.alpha = 0

    authorLabel.alpha = 0

    quoteTextLabel.alpha = 0

    quoteTextLabel.numberOfLines = 0

    arrayOfQuotes = QuoteViewModel().quotes

    arrayOfImages = QuoteViewModel().backgroundImages

    let leftGesture = UISwipeGestureRecognizer(target: self, action: #selector(updateScreen))

    leftGesture.direction = .left

    let rightGesture = UISwipeGestureRecognizer(target: self, action: #selector(updateScreen))

    rightGesture.direction = .right

    self.view.addGestureRecognizer(leftGesture)

    self.view.addGestureRecognizer(rightGesture)

    generateNewImage()

    generateNewQuote()

 }
There is a bit happening here. First, we want to make the background black (because we will animate the background and quote change with fade-out/fade-in eect for smooth transitions in between) Then, we fade out our image and quote with the author, because we still haven’t populated the labels and image with data.
Right after that, I’ve added two UISwipeGestureRecognizer, one for left and one for right swipe and they both have the same action updateScreen(), which we will get to in a second. Finally, we call two methods generateNewImage() and generateNewQuote() which will populate the data, and here is how they look like:
private func generateNewImage() {

   let randomIndex = Int().randomNumber(upTo: arrayOfImages.count)

   let randomImage = arrayOfImages[randomIndex]

   presentingBackground = randomImage


   UIView.animate(withDuration: 1.0) {

      self.backgroundImageView.alpha = 0

   } completion: { (bool) in

      self.backgroundImageView.image = randomImage

      UIView.animate(withDuration: 1.0) {

         self.backgroundImageView.alpha = 1

      }

   }

}

private func generateNewQuote() {

   let randomIndex = Int().randomNumber(upTo: arrayOfQuotes.count)

   let randomQuote = arrayOfQuotes[randomIndex]

   presentingQuote = randomQuote


   UIView.animate(withDuration: 1.0) {

      self.quoteTextLabel.alpha = 0

      self.authorLabel.alpha = 0

   } completion: { (bool) in

      UIView.animate(withDuration: 1.0) {

         self.quoteTextLabel.alpha = 1

         self.authorLabel.alpha = 1

      }

      self.quoteTextLabel.text = randomQuote.text

      self.authorLabel.text = randomQuote.authorName

   }

}
You noticed that there is a function randomNumber(upTo: Int) -> Int being called. That is just a helper function that I made so everything is more readable and tidy. Here is the extension of Int with that function:
extension Int {

    func randomNumber(upTo: Int) -> Int {

       let randomIndex = Int(arc4random_uniform(UInt32(upTo)))

       return  randomIndex

    }

 }
To sum up what is happening here; We are picking a new quote using a random index from the array, and setting its value to presentingQuote and the same thing is happening with presentingBackground.
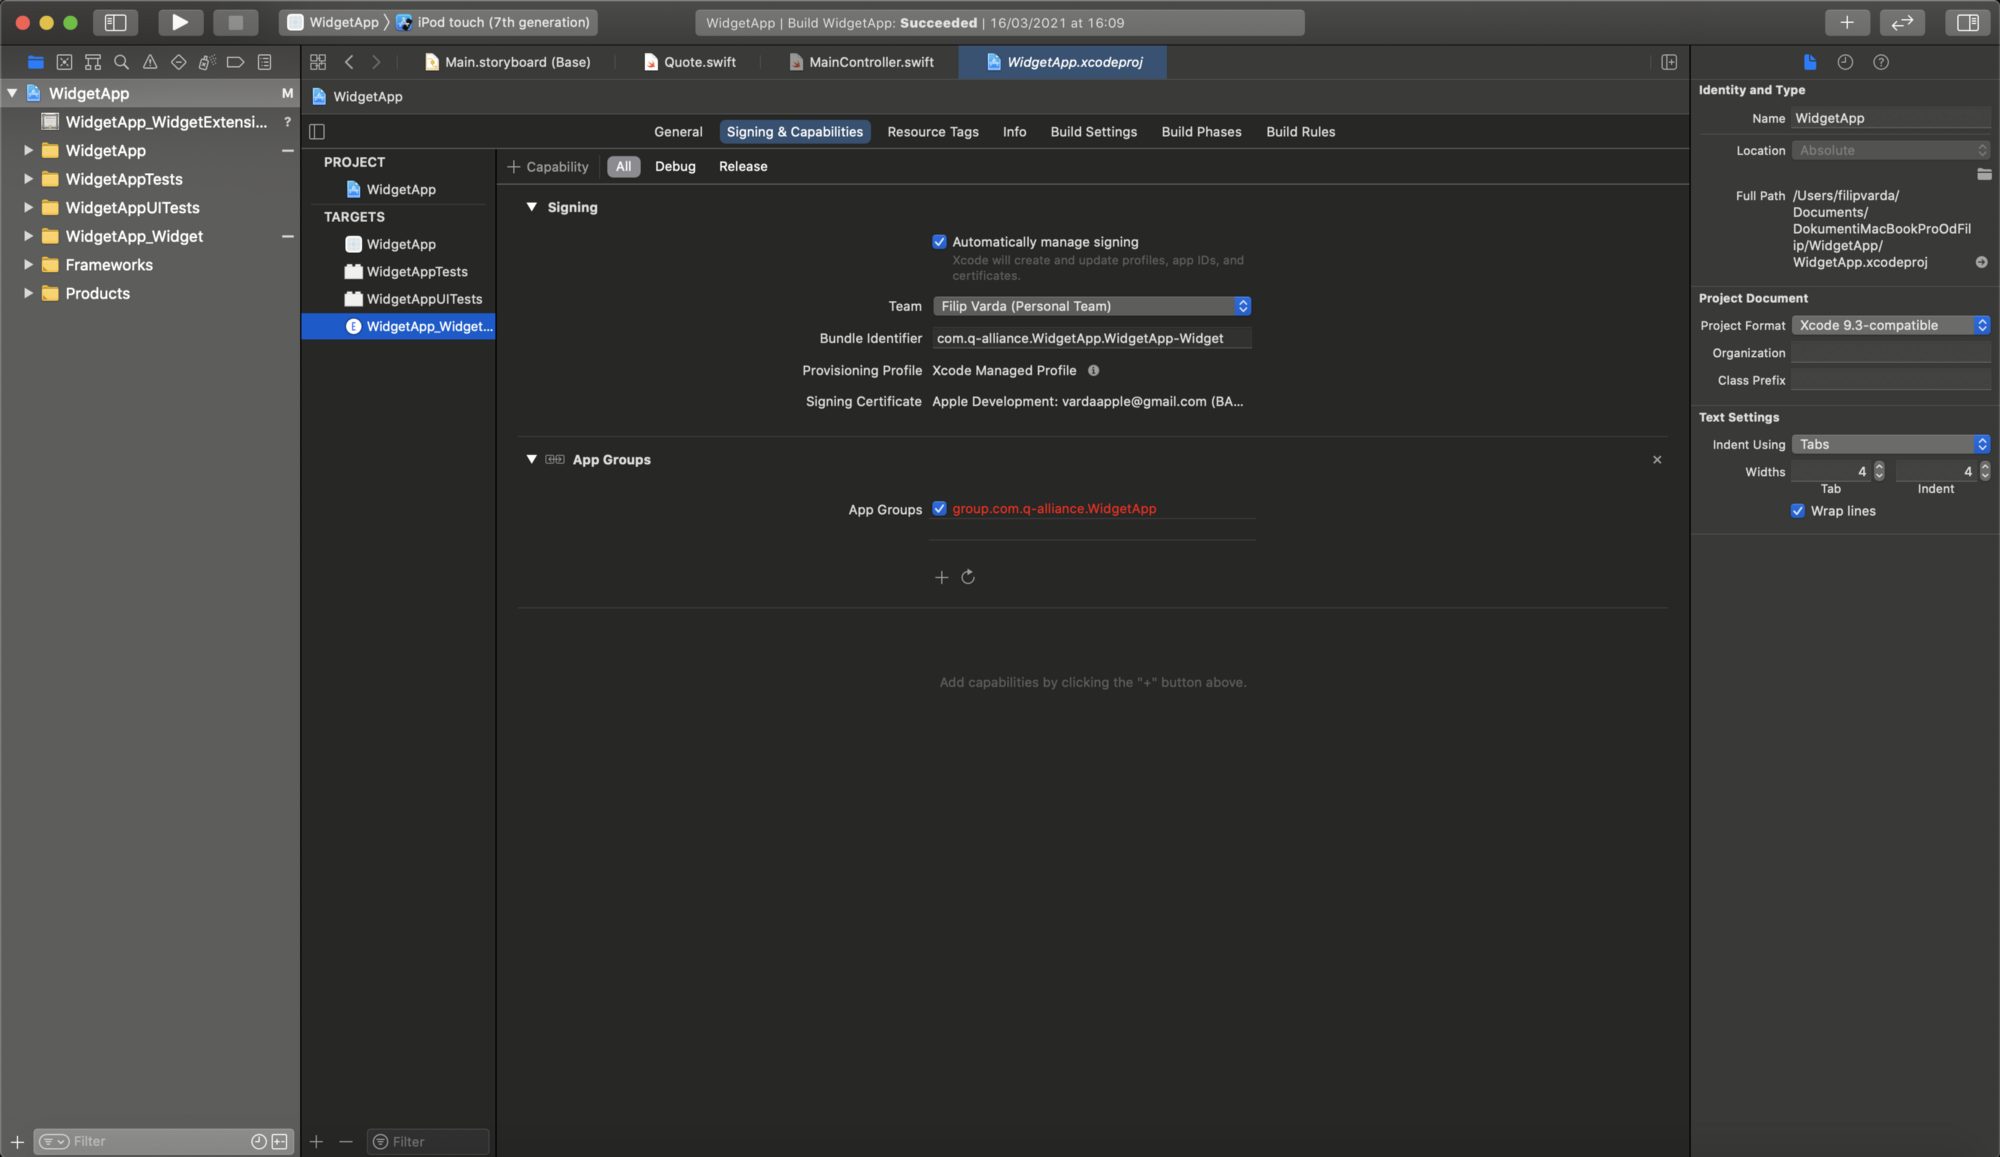
Okay, now jumping to saving the image and quote to UserDefaults, but before we do that, we need to add a new target which will be our Widget and we also need to add a new capability to our app, called App Groups.
To add a new target, go to File -> New -> Target. Select Widget Extension and click Next. Name your target however you want. I named mine WidgetApp-Widget. A pop-up should present asking if you wish to activate your widget, and you are going to press Activate.
For now, we won’t set our focus on our widget, but App Groups. Apps within a group can communicate with other members in the group using IPC mechanisms including Mach IPC, POSIX semaphores and shared memory, and UNIX domain sockets.
In macOS, use app groups to enable IPC communication between two sandboxed apps, or between a sandboxed app and a non-sandboxed app. App groups also act as keychain access groups. In short, apps within the group can share data which is exactly what we need.
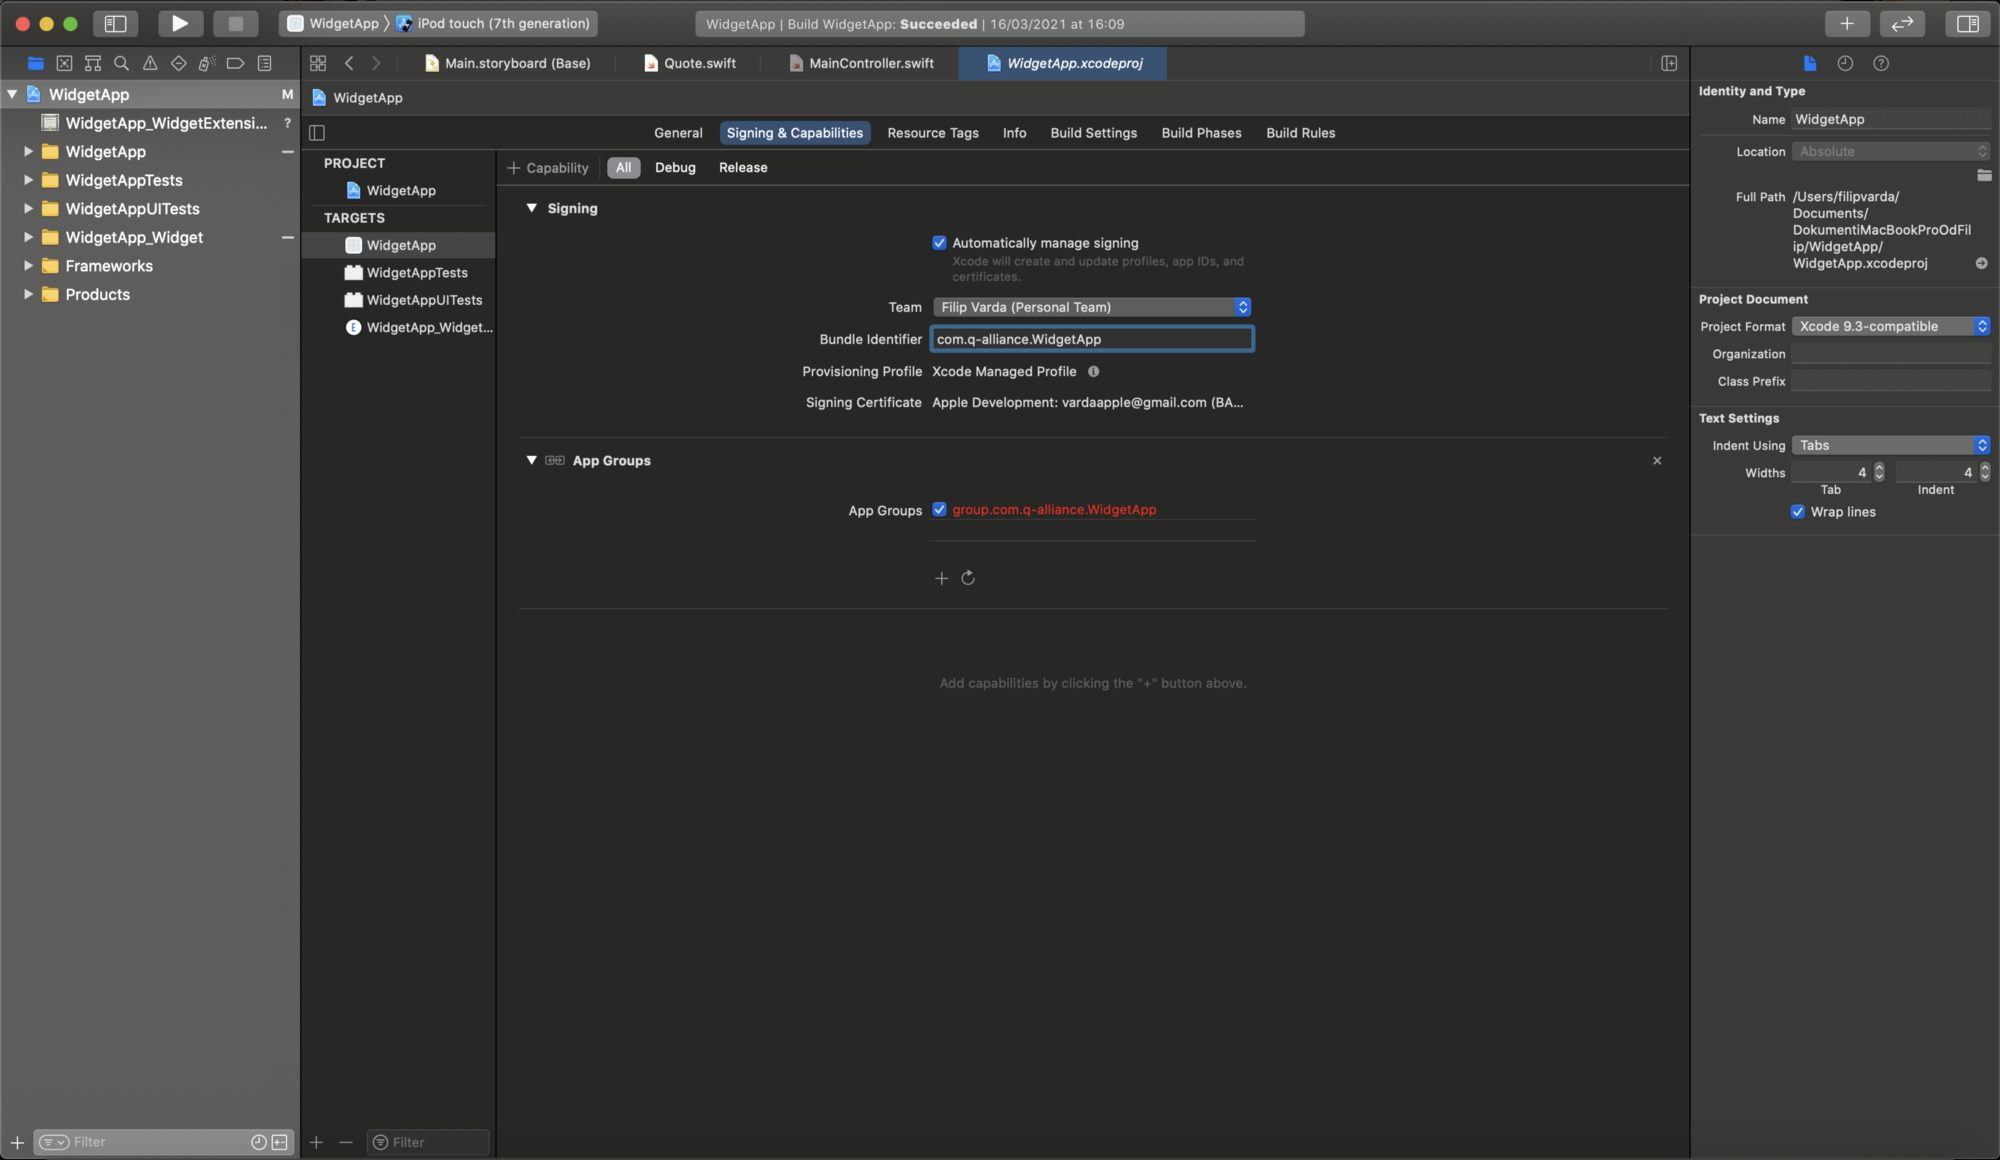
Go to your project, select your WidgetApp target and click on + Capability and add App Groups. Copy your Bundle ID and in the App Groups section add a new group. You will be presented with a window for adding a new container. Paste your Bundle ID in there but don’t delete the “group.” prefix.
Now do the same thing for your Widget target and you should end up with something like this:
One last thing we need to do regarding saving data to UserDefaults. Go back to your ViewController, import SwiftUI and add some more properties:
import UIKit

import SwiftUI

class MainController: UIViewController {

   @IBOutlet weak var quoteTextLabel: UILabel!

   @IBOutlet weak var authorLabel: UILabel!

   @IBOutlet weak var backgroundImageView: UIImageView!

   var arrayOfImages = [UIImage]()

   var arrayOfQuotes = [Quote]()

   @AppStorage("quote", store: UserDefaults(suiteName: "group.com.q-alliance.WidgetApp"))

   var quoteData: Data = Data()

   @AppStorage("image", store: UserDefaults(suiteName: "group.com.q-alliance.WidgetApp"))

   var imageData: Data = Data()

   var presentingQuote: Quote? {

      get { return nil }

      set {

         saveQuoteToUserDefaults(quote: newValue!)

      }

   }


   var presentingBackground: UIImage? {

      get { return nil }

      set {

         saveImageToUserDefaults(image: newValue!)

      }

   }

.

.

.

.

}
We need SwiftUI at this moment because of the property wrapper @AppStorage. We will use these to save the image and quote data for our widget. You noticed that there are two new functions, saveQuoteToUserDefaults(quote: Quote) and saveImageToUserDefaults(image: UIImage). Here is how they look and what they do:
private func saveQuoteToUserDefaults(quote: Quote) {

    guard let quoteData = try? JSONEncoder().encode(quote) else { return }

    self.quoteData = quoteData

 }

 private func saveImageToUserDefaults(image: UIImage) {

    guard let imageData = image.jpegData(compressionQuality: 0.7) else { return }

    self.imageData = imageData

 }
Okay, so, saveImageToUserDefaults() compresses the image, encodes the image jpeg data, and saves it to imageData property which is AppStorage property. The same thing happens with our Quote object, and if you remember that is what our structure Quote inherits from Codable protocol.
At this point, we are done with our app, and we can jump into our Widget code. Go to your widget file, and delete everything:
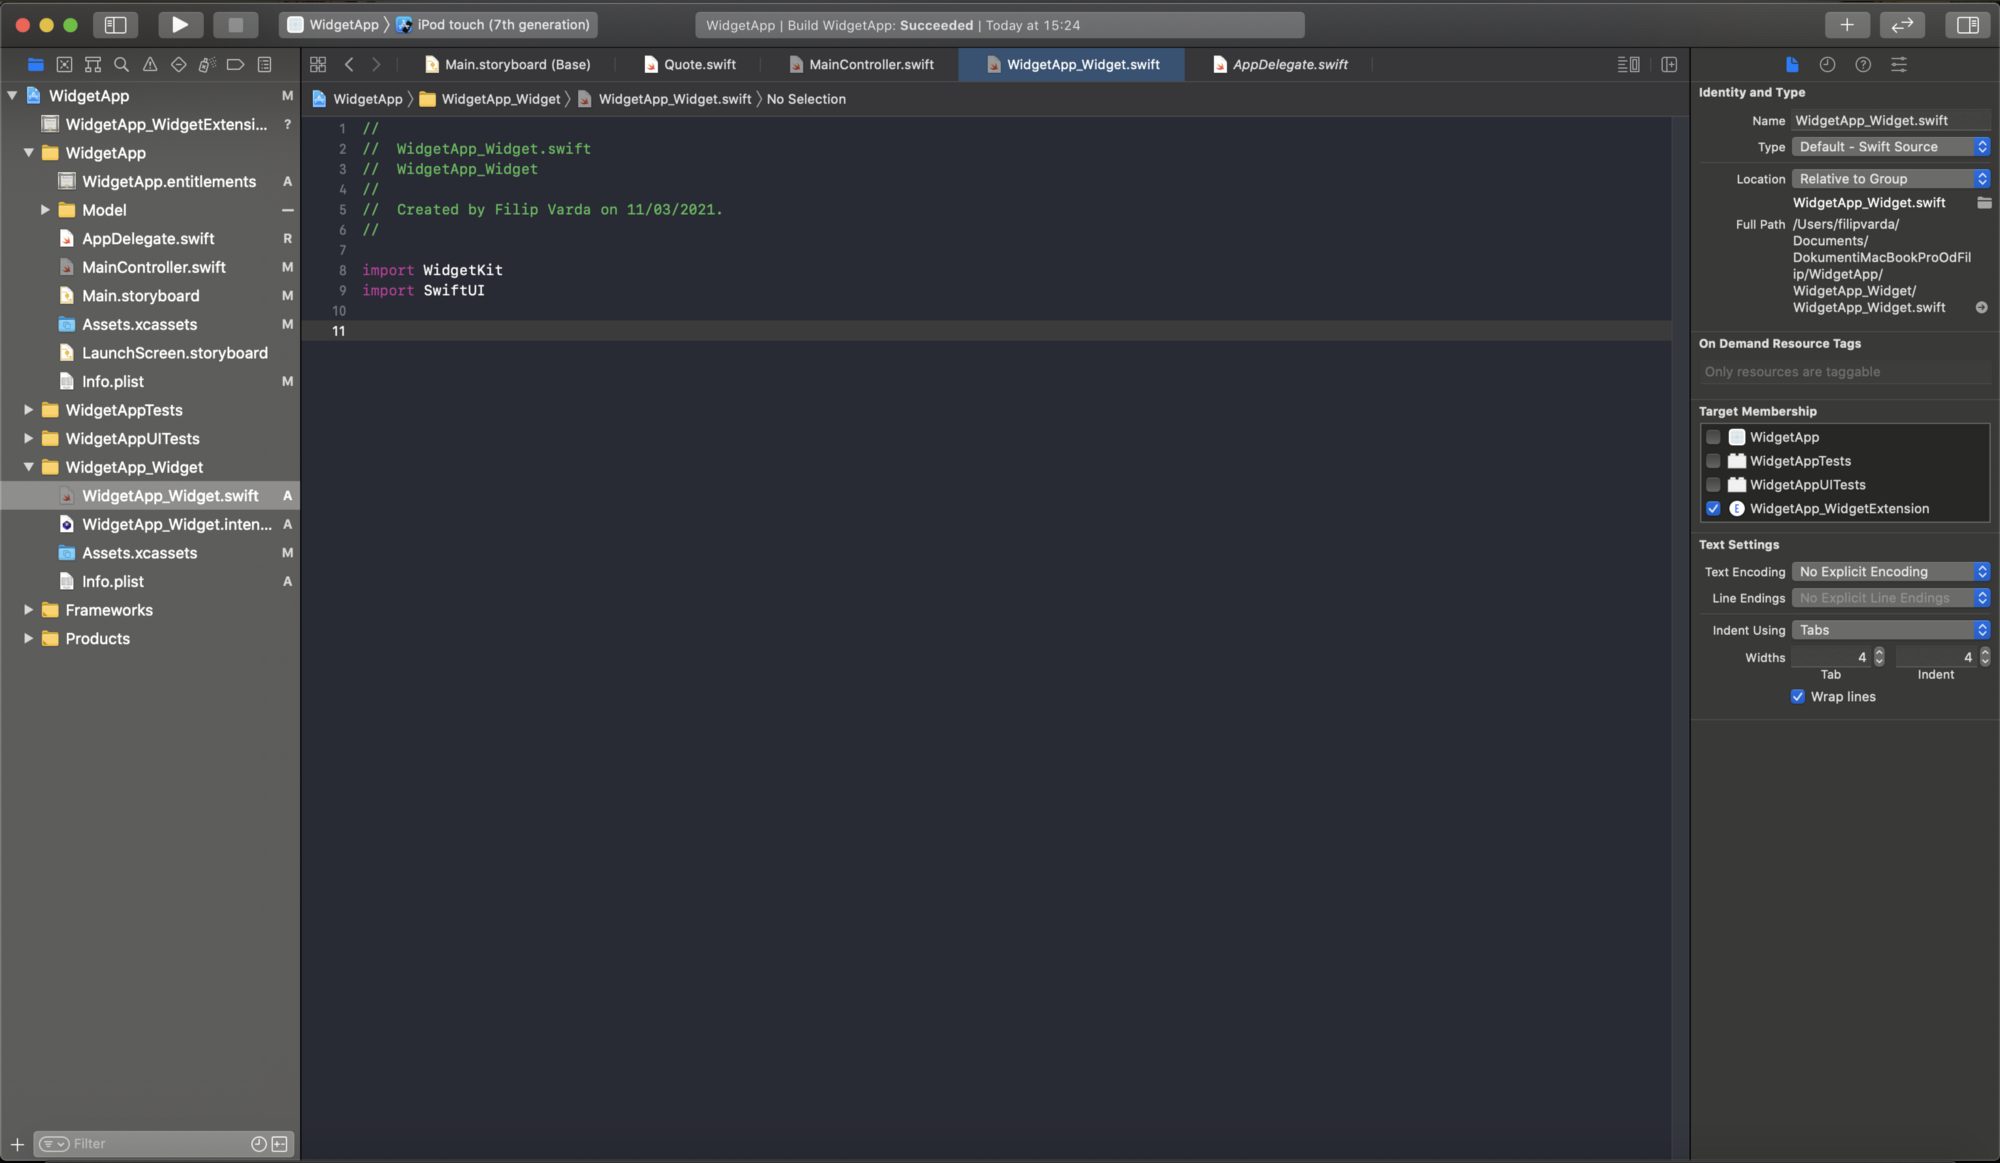
We will start with a new structure:
struct Provider: TimelineProvider {

    typealias Entry = QuoteEntry

 }
This structure is a TimelineProvider, which means that this is what tells the app’s widget when they need to be updated again. Entry type is what actually holds the data and any other data that is needed to populate our Widget. We are going to create our own QuoteEntry:
struct QuoteEntry: TimelineEntry {

    let date = Date()

    let quote: Quote

    let image: UIImage

 }
As you can see, this is not working because our Quote object is not pointing to our extension target. Go back to our Quote.swift file and set target membership to the extension target.

Now you can go back to Widget extension and try to build the project. We can now add some more properties and functions to our Provider. Here is how it should look like:
struct Provider: TimelineProvider {

    typealias Entry = QuoteEntry

    @AppStorage("quote", store: UserDefaults(suiteName: "group.com.q-alliance.WidgetApp"))

    var quoteData: Data = Data()

    @AppStorage("image", store: UserDefaults(suiteName: "group.com.q-alliance.WidgetApp"))

    var imageData: Data = Data()

    func getSnapshot(in context: Context, completion: @escaping (QuoteEntry) -> Void) {

       guard let quote = try? JSONDecoder().decode(Quote.self, from: quoteData) else { return }

       guard let image = UIImage(data: self.imageData) else { return }

       let entry = QuoteEntry(quote: quote, image: image)

       completion(entry)

    }

    func getTimeline(in context: Context, completion: @escaping (Timeline<QuoteEntry>) -> Void) {

       guard let quote = try? JSONDecoder().decode(Quote.self, from: quoteData) else { return }

       guard let image = UIImage(data: self.imageData) else { return }

       let entry = QuoteEntry(quote: quote, image: image)

       let timeline = Timeline(entries: [entry], policy: .atEnd)

       completion(timeline)

    }

 func placeholder(in context: Context) -> QuoteEntry {

       let exampleQuote = Quote(text: "This is example text", authorName: "- Author")

       guard let quote = try? JSONDecoder().decode(Quote.self, from: quoteData) else { return QuoteEntry(quote: exampleQuote, image: UIImage(named: "motivation_phone_BG1")!) }

       guard let image = UIImage(data: self.imageData) else { return QuoteEntry(quote: exampleQuote, image: UIImage(named: "motivation_phone_BG1")!) }

       let entry = QuoteEntry(quote: quote, image: image)

       return entry

    }

 }
There is a lot of things happening here, so let’s get to it.
First, we have some properties that you have already seen in the ViewController code. These properties are data that is being saved in the UserDefaults, that is Quote data and UIImage data.
The func getSnapshot(in context: Context, completion: @escaping (QuoteEntry) -> Void) is using our new QuoteEntry as you can see, and this is the function that will be used to get a quick render of the Widget. I believe that this is the function that renders our Widget in our App Library. Here we are decoding the image and the quote data from UserDefaults and creating an entry that we return at the end of the function.
func getTimeline(in context: Context, completion: @escaping (Timeline<QuoteEntry>) -> Void) is a method that is specifically made to update your widget with new data. In this tutorial we are making a static widget, but with a small hack that makes it dynamic. Let me explain: In this method, we are decoding the data again, then creating an entry and then a timeline.
Here is the trick,
let timeline = Timeline(entries: [entry], policy: .atEnd)
as you can see, there is an argument named policy, which decides when the widget will be updated. With this set to .never, our widget would be completely static, but since we are using .atEnd this means that our widget will be updated every time our app closes, and as you know, every time a quote is changed in the app with our swipe gesture, new data is being saved to UserDefaults, which means that every time you swipe, and close the app the quote you left in the app should be presented in the widget.
func placeholder(in context: Context) -> QuoteEntry is pretty self-explanatory. This method is used to create a widgets placeholder. Keep in mind that you will need images to create a placeholder, that is why there is an Assests file in your Widget group. I used the same images as I used in the app.

Now that we have data that is going to be passed around, its time to create views, that is, how our Widget is going to look like. If you check the documentation you should have a placeholder view that should present on the lock screen. I wasn’t able to test this, but you most certainly must have one.
struct PlaceholderView: View {

    let quote = Quote(text: "This is example text", authorName: "- Author")

    var body: some View {

    Text(quote.text)

       .font(.largeTitle)

       .padding()

      .background(Color.black)

    }

 }

 struct WidgetEntryView: View {

    let entry: Provider.Entry

    var body: some View {

       Text(entry.quote.text)

          .font(.body)

          .fontWeight(.bold)

          .foregroundColor(.white)

          .shadow(color: .black, radius: 20, x: 0.0, y: 0.0)

          .multilineTextAlignment(.center)

          .background(

             Image(

                uiImage: UIImage(data: entry.image.pngData()!)!

             )

          .aspectRatio(contentMode: .fill)

          )

    }

 }
The other one is our WidgetEntryView, which renders the widget with data that is passed from the app. You can see that the entry is Provider.Entry, that is, QuoteEntry which was defined with typealias Entry = QuoteEntry.
You can see that we use properties of our entry such as here:
uiImage: UIImage(data: entry.image.pngData()!)!Now we need to put all that stu together, and we can do that with another struct. Here is how it looks like:
@main

struct QuoteWidget: Widget {

   private let kind = "Quote_Widget"

   var body: some WidgetConfiguration {

      StaticConfiguration(kind: kind, provider: Provider()) { entry in

         WidgetEntryView(entry: entry)

      }

   }

}
We mark the QuoteWidget with @main so that our extension knows that this is the main function that needs to be called. You can see that the kind is a string with a name “Quote_Widget” and we have a StaticConfiguration because our widget is static, not dynamic. Our configuration has a few arguments, our kind, provider, and entry. What this does is basically when the entry is passed, our WidgetEntryView is going to be populated with that data, rendered and presented.
Try to build and run the app and then the widget to see if everything works. To place a widget on your home screen, press and hold on the screen, in the top left corner press the “+” icon, and scroll down to the bottom of the list. You should see the WidgetApp there, press, and select the widget that you wish to use. Here is how mine looks like:
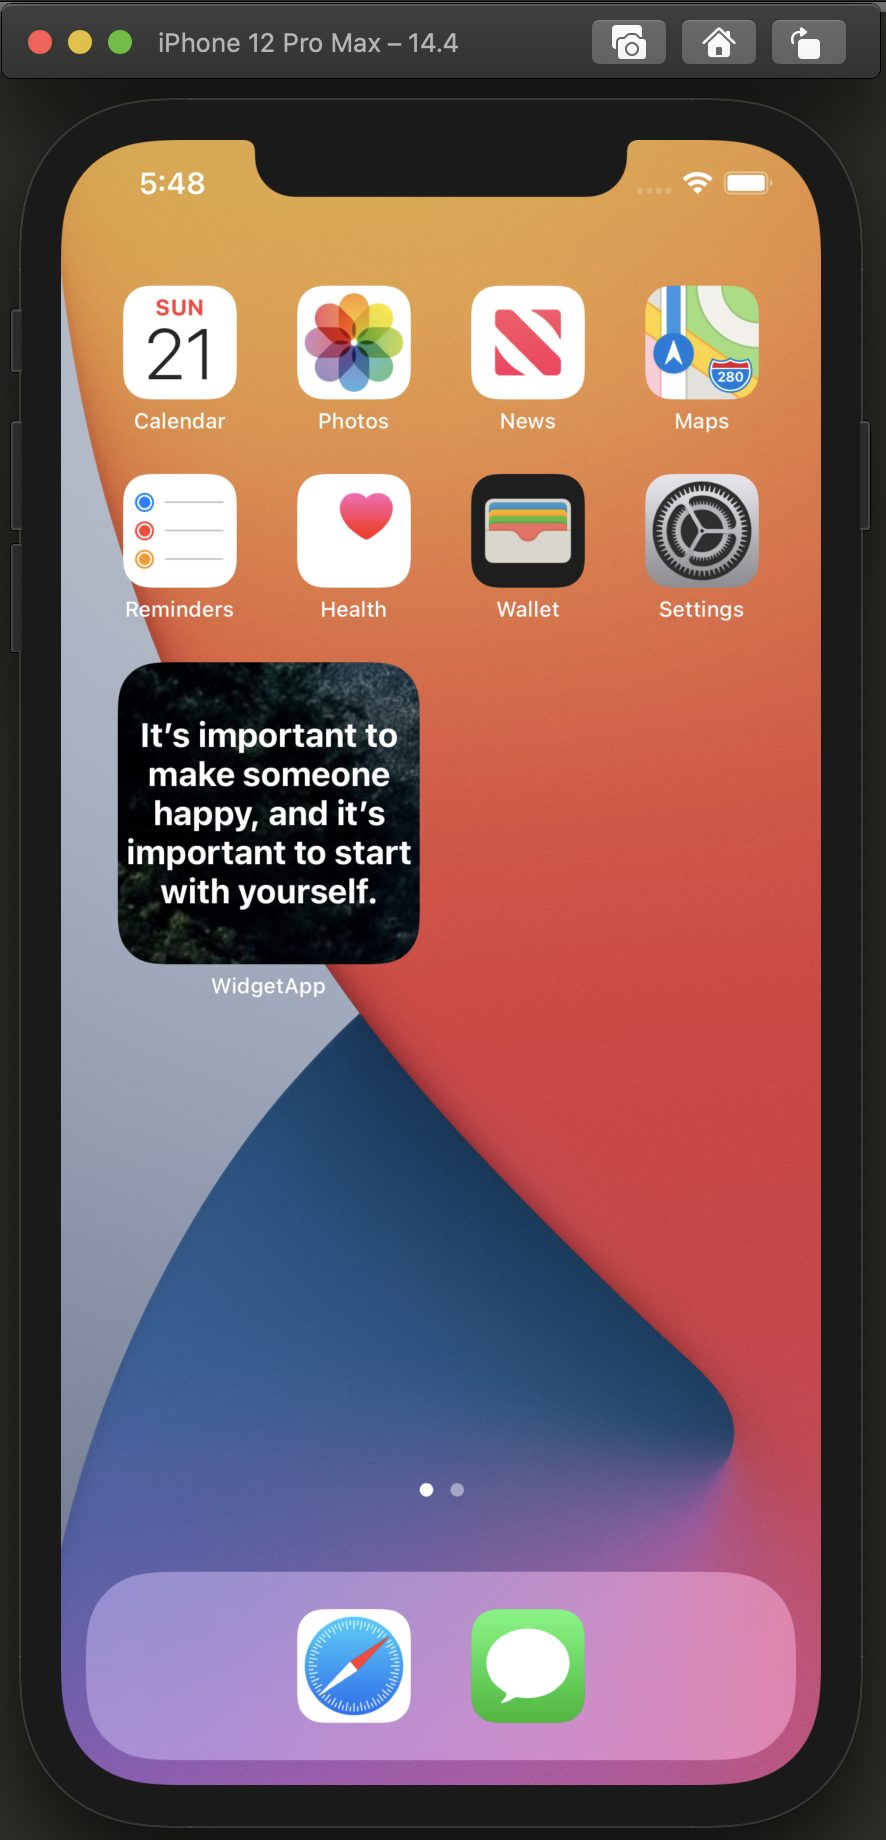
That’s it! Here is a link to a complete project on git. Hope it helps. Cheers!
Give Kudos by sharing the post!
ABOUT AUTHOR

Filip Varda
iOS Mobile Developer